One of our favourite pastimes is scrolling through the camera roll to relive holiday memories. But what we really love is the old-fashioned method of swiping: turning a page! We’re here to help turn your swipe-happy snaps into page-turning treasures with a photo book that chronicles your travels. Keep reading as we spill our top 10 tips for creating your own travel photo books.
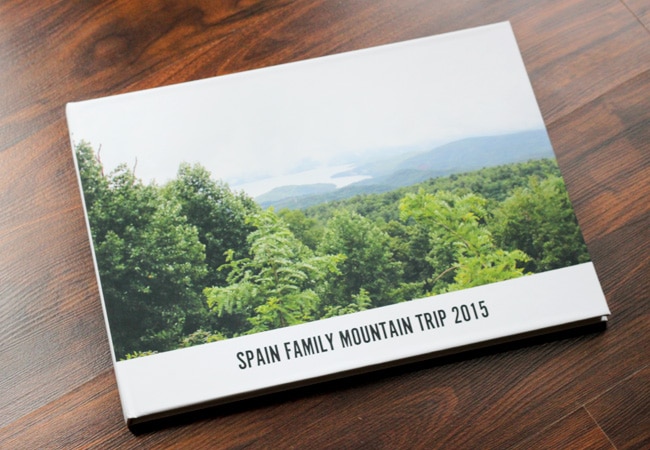
1. Spell it out
It sounds simple enough, but be sure your photo book cover includes where you travelled. Labelling travel photo books with place and date makes your subject clear to friends and family who just happen to spot it on your coffee table and give it a flip-through. via Erin Spain
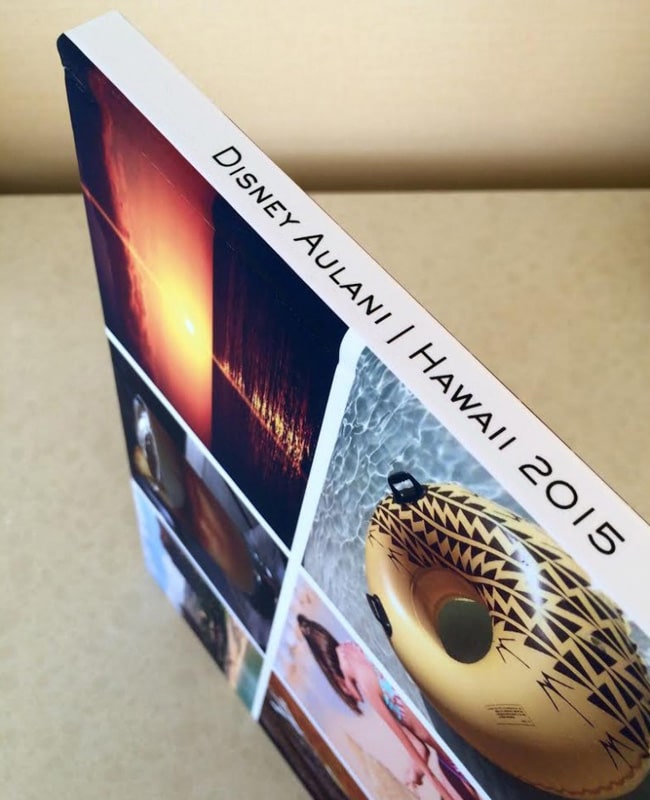
2. Spine savvy
To tell your Hawaii photo book from your Great Lakes photo book, add text to the spine. To do this, simply double-click on the long, skinny spine area in the project space and a text box will pop up. via Jet Set Fam
3. Organise photos by colour
Pristine blue hues from the beach or pool look really great when grouped together. Click the Shuffle button in the project space to automatically rearrange your photos into different layouts. via Fresh Mommy Blog
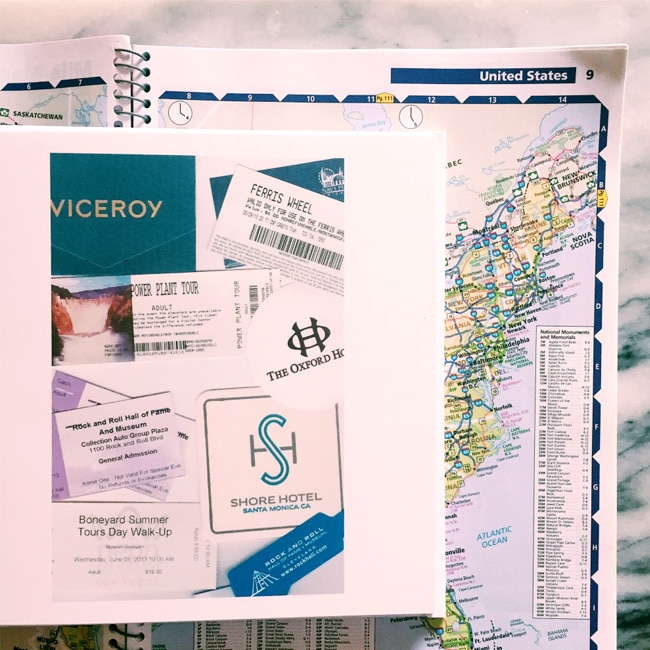
4. Save ticket treasures
Keep plane tickets, theatre playbills, and attraction passes in a small envelope during your trip. When you return, arrange them on a table, take a photo, and upload it to your travel photo books. via Domestikated Life
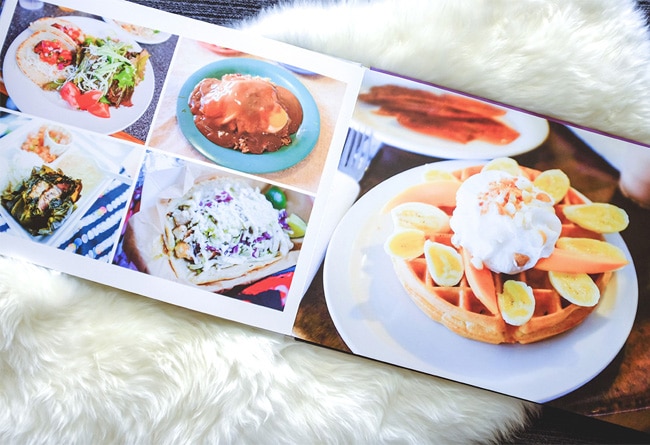
5. Delicious details
It’s the little morsels and moments that make each trip unique. Blogger Tineey dedicated a spread to her foodie adventures – those pages look good enough to eat!
6. Face time
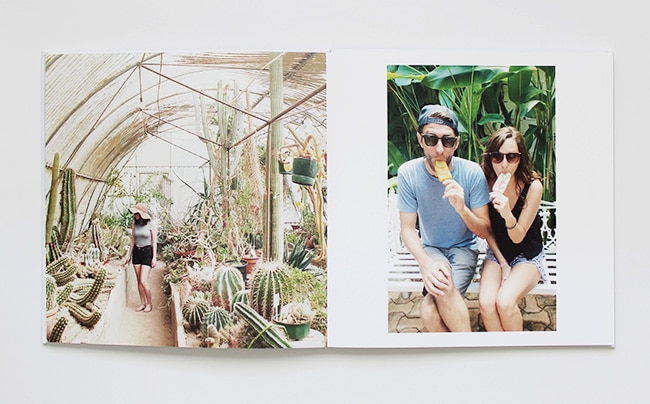
Whether you opt for selfie, selfie stick, or the kindness of strangers, make sure that you and your peeps get into the photo book, too. via Almost Makes Perfect
7. Views for days
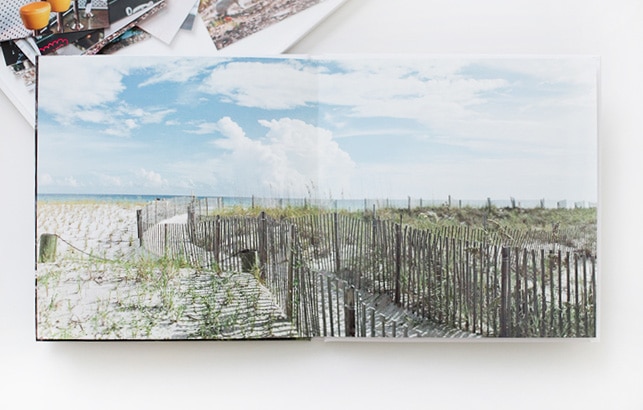
Make the most of those panoramas! Click the expanding arrow icon in the toolbar to spread a photo over two pages for a view-tiful shot. via Fresh Mommy Blog
8. Iconic scenes
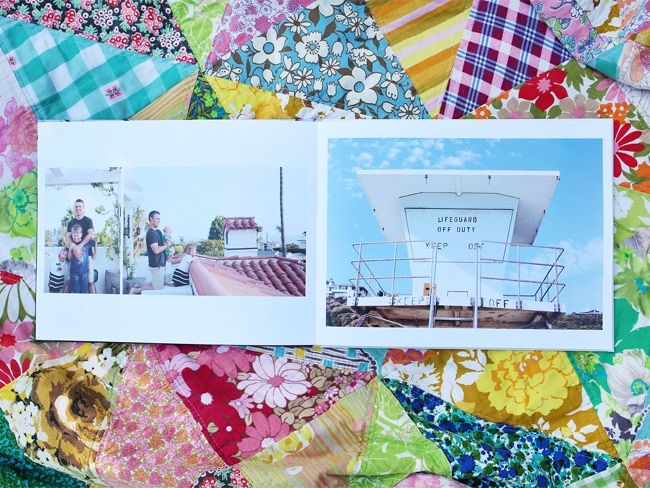
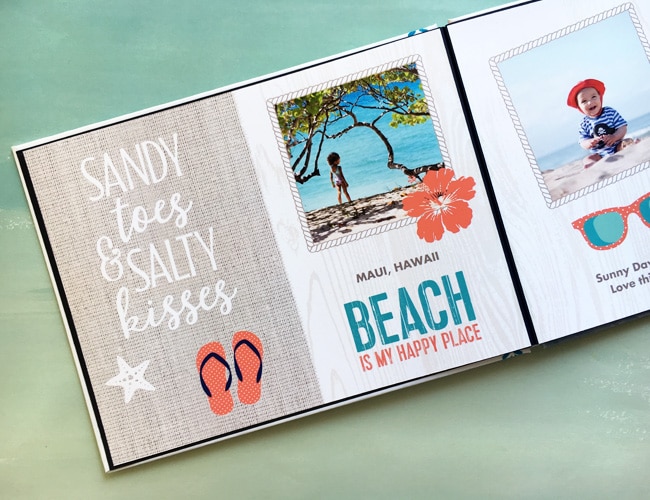
Classic beach shots like palm trees, lifeguard towers, and flip flops add colourful context and details to the rest of your vacation story. via Smile and Wave
9. Memory page
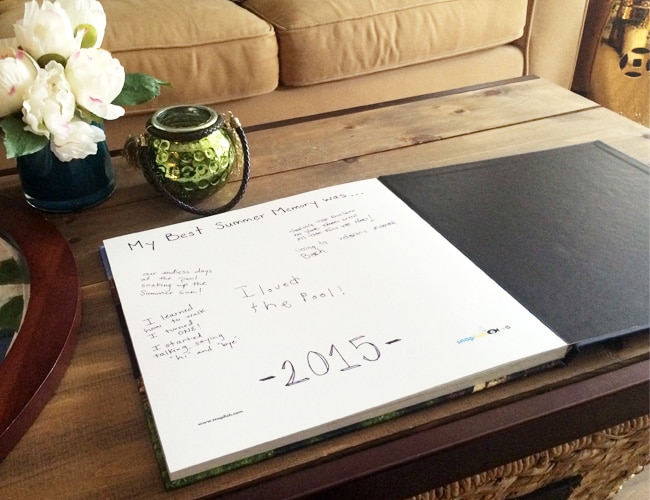
Leave the last page in your book blank and encourage your whole family to journal about their vacation memories. It’ll be so fun for them (and you!) to look back and read years later. via Jenna Burger
10. Designer layouts made easy
In addition to the “Make Your Own” book layout that these bloggers selected, we have a variety of picture-perfect designer layouts to choose from. One of our favourites for summer is called “It’s A Shore Thing,” complete with fabulous beach, lake, and family embellishments and phrases all ready to go – just add photos!
Start making your one-of-a-kind photo book! Share your creations with #SnapfishUK and @SnapfishUK for a chance to be featured on our social channels.
Originally posted on Snapfish US

