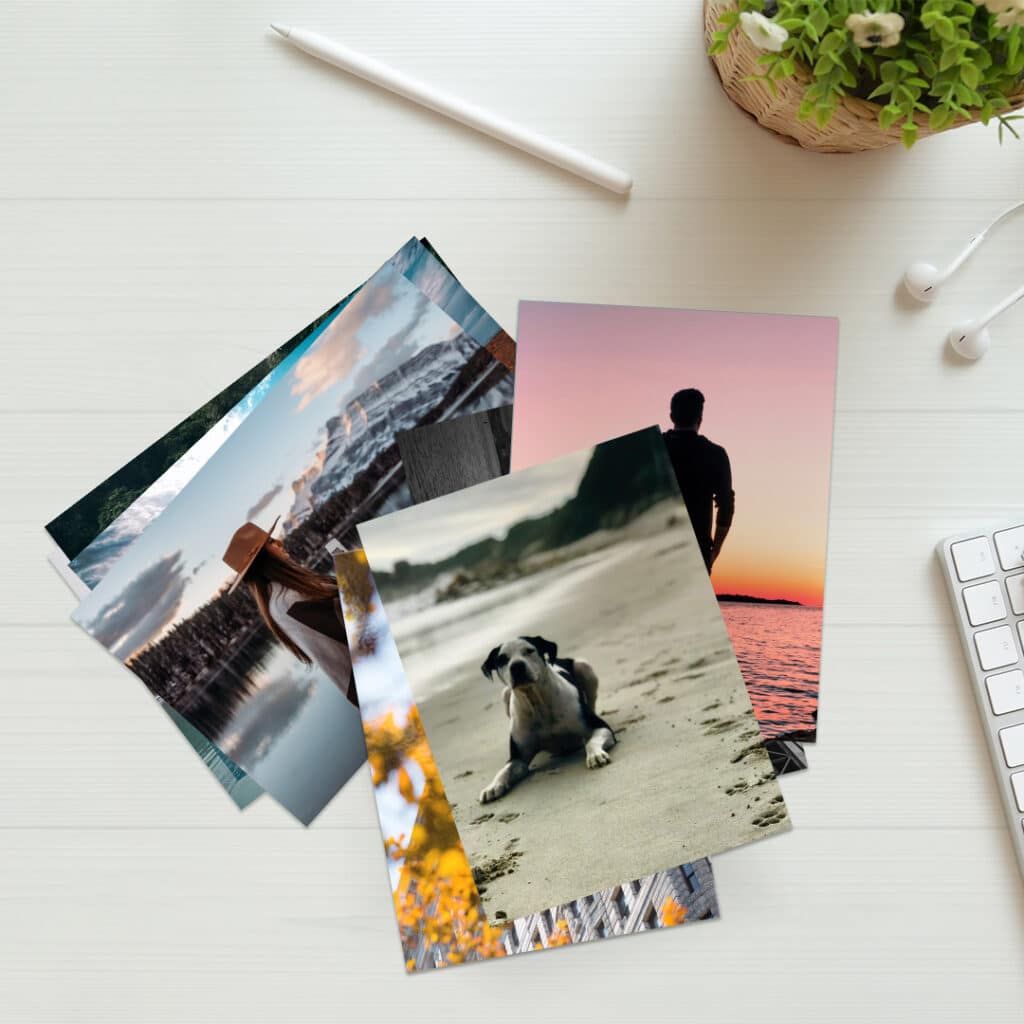
Get all those wonderful photos off your phone or camera and turn them into stunning photo prints and custom gifts. Choose from square prints, collage prints, photo booth strips, large size prints, posters, and more options.
Want to take advantage of the last days of summer and take even better photos of your family and friends?
Read on for tips on how to take great photos for any situation, including travel photos, beach photos, pet photos and photos taken on your smartphone. Oh, and download the Snapfish App now and get 50 free 6×4″ prints every month for the next year!
Play with different angles

Even recognisable or frequently photographed locations can be even more eye-catching when you capture them from a fresh perspective. For example, shoot buildings looking up rather than straight on.
Position your subject
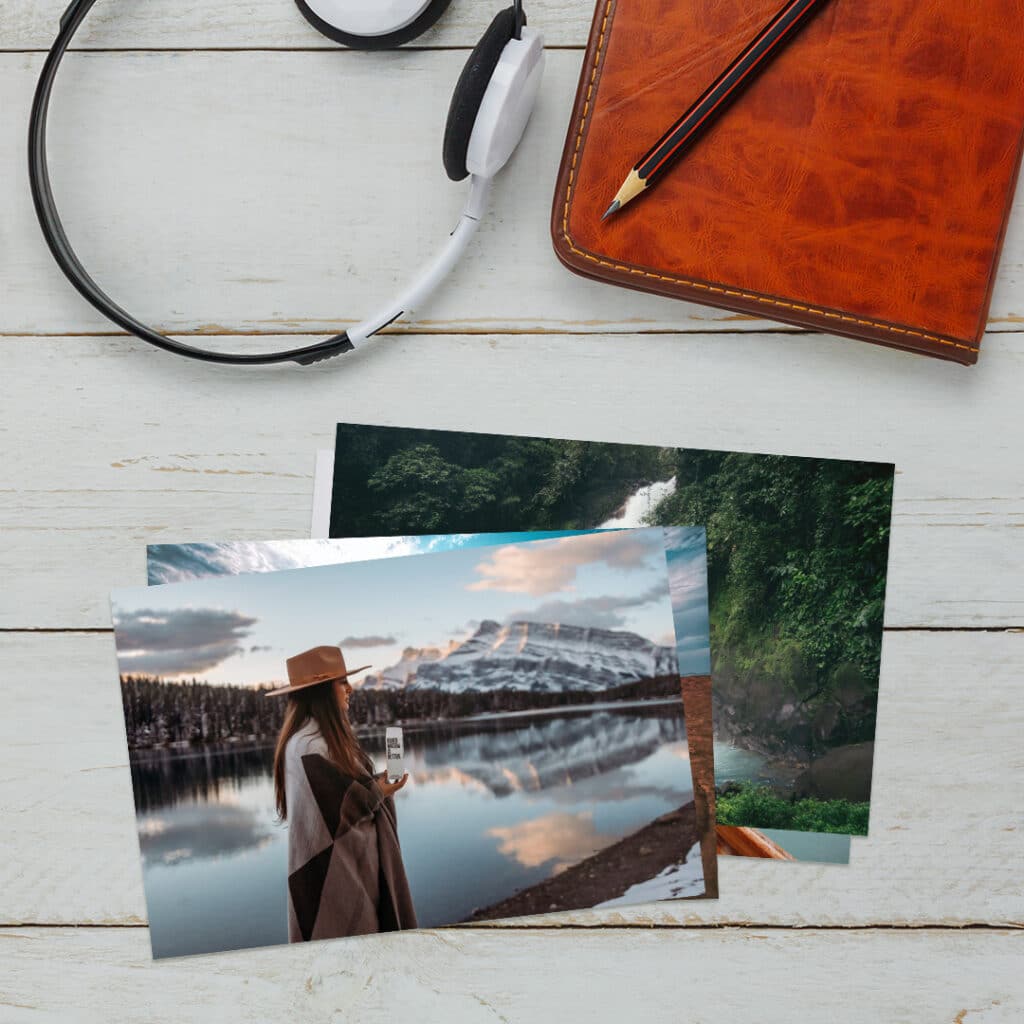
To create more powerful photos, place the subject off-centre and leave the rest of the frame empty. Imagine the shot divided into three sections (like a noughts and crosses game).
Use silhouettes
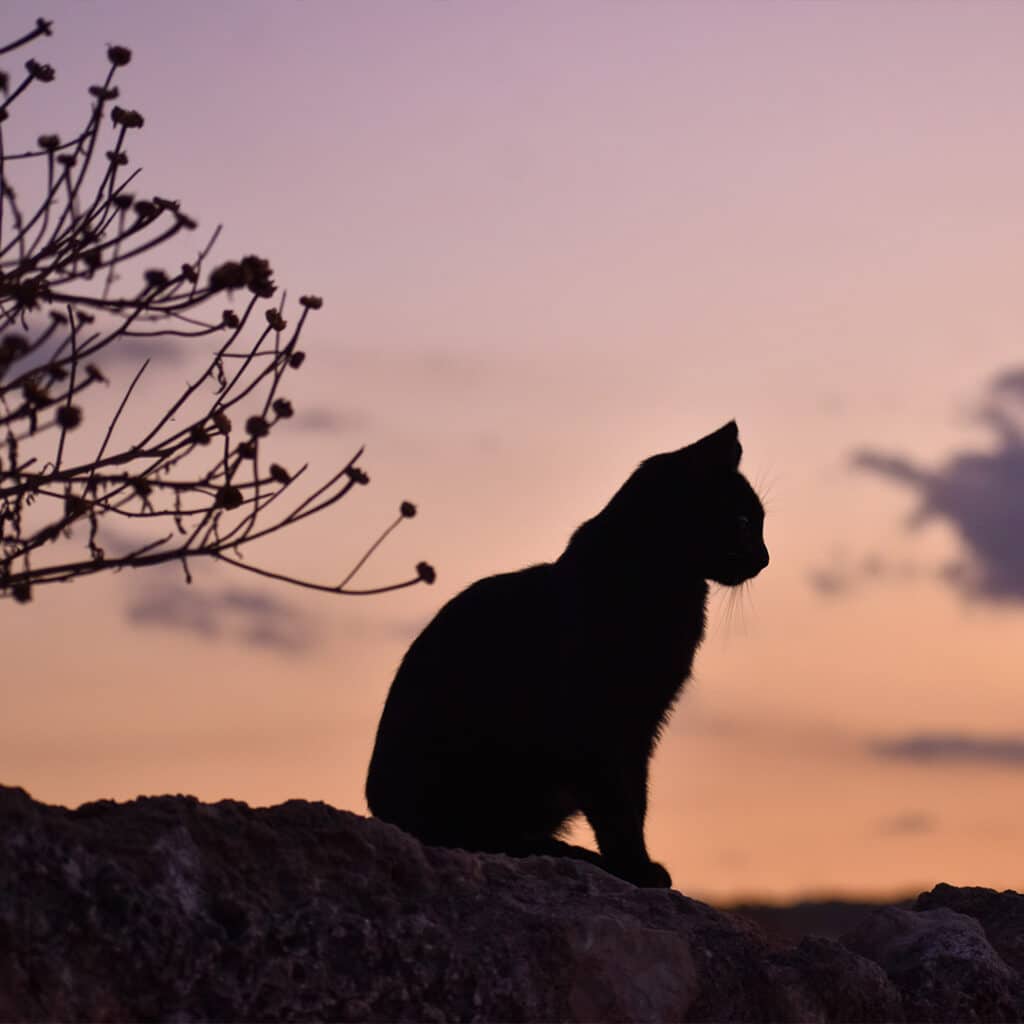
Put your subject between you and the setting or rising sun to create dramatic silhouettes – perfect for framing.
Capture colour

Look for the vibrant and unique colours. You can find them anywhere-shop displays, graffiti, even in farmers’ markets. Here, a shopfront full of bags and scarves becomes a striking photo.
Try black and white
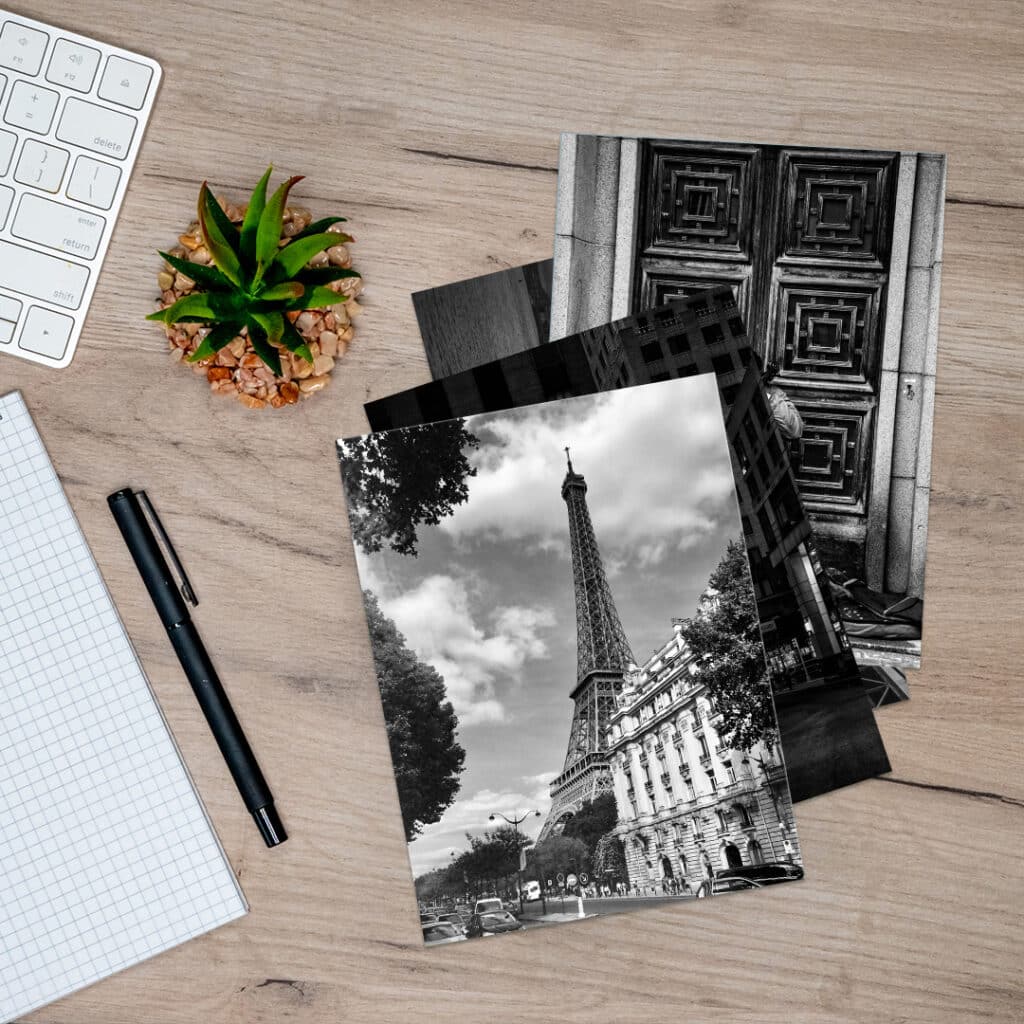
The contrast of black and white accentuates lines, textures, and edges, making it a good choice for turning snapshots into dramatic photos.
Snap signs and symbols
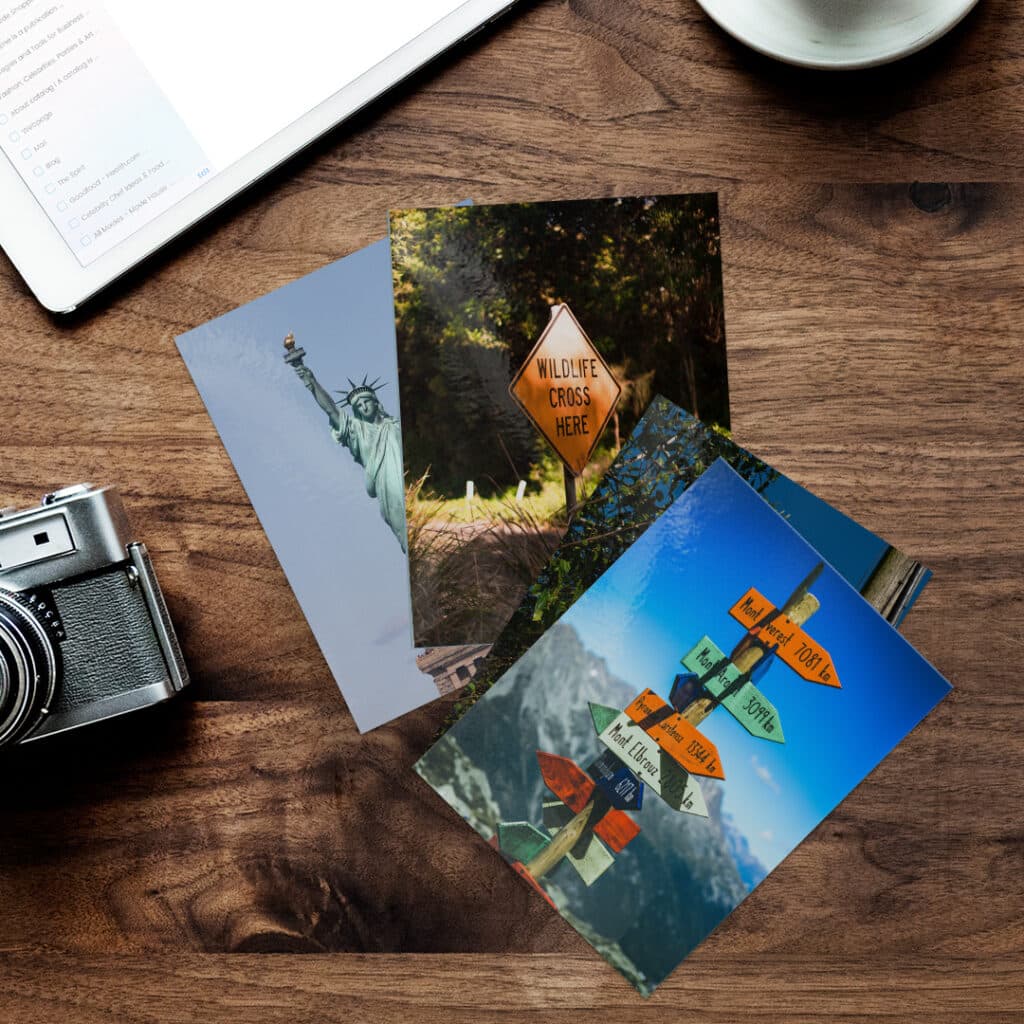
Landmarks, signs, and memorabilia can make for fun, creative photos. Look for opportunities to capture the flavour of your destinations – great for creating a photo book, too!
See the small details

Use your camera’s macro shooting mode to shoot small details such as a footprint in the sand, a coconut washed to shore or an intricate seashell. Close up photos of beautiful nature objects are perfect to use on homeware such as placemats, coasters and photo mugs.
Position the horizon

Rather than cut your image in half, make the composition of your photo more interesting. For example, notice how the horizon line in this photo is in the top third of the image – providing more visual interest. You can do the same with vertical elements such as trees, tall buildings or just your friends.
The blue water of the ocean and the golden sands will look even more vibrant on acrylic block or acrylic prints.
Adjust to the light
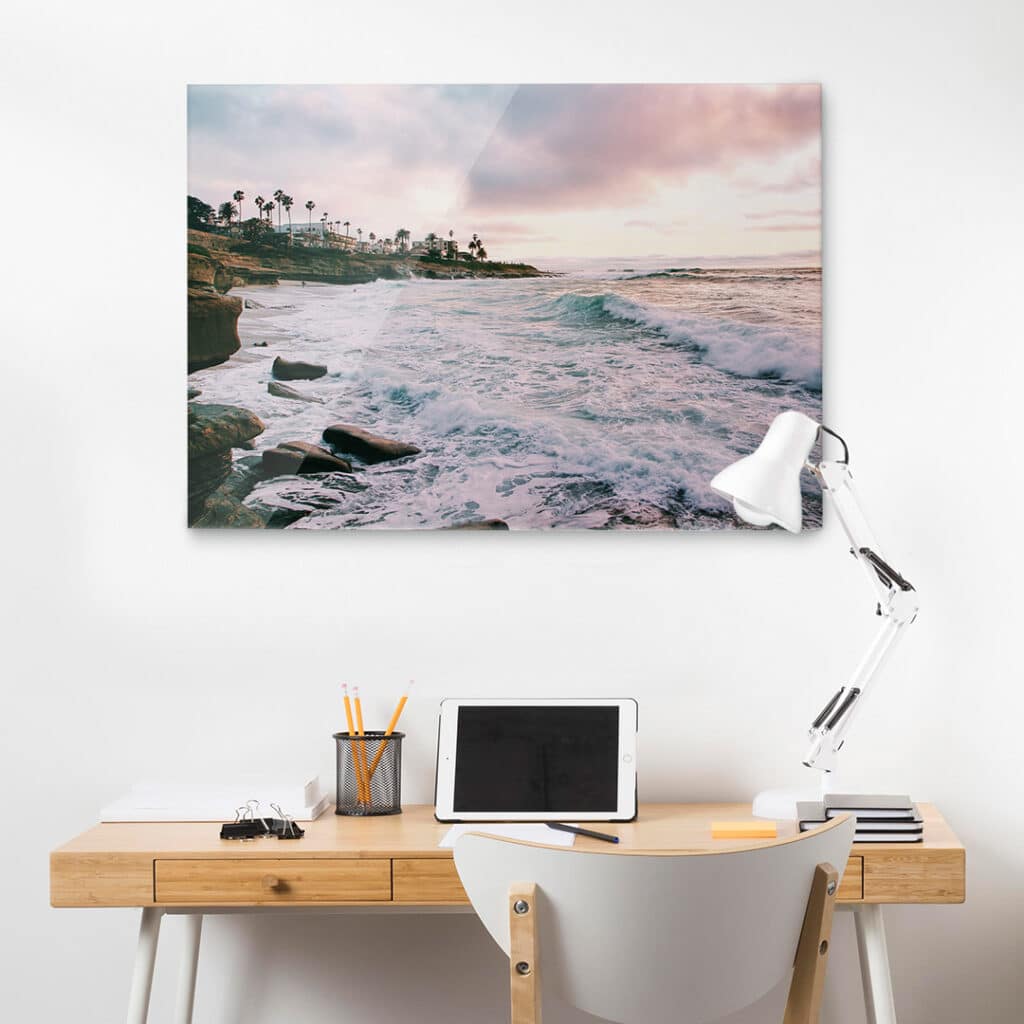
When at the beach, avoid harsh shadows by shooting on cloudy days, in shade, or around sunrise or sunset. You can also use your camera’s flash when shooting in direct sun to get rid of strong shadows on faces or other objects in your shot. Once you’ve snapped the perfect beach photo you can bring the fun back to the office with an acrylic photo panel or acrylic wall prints.
Plan your photos
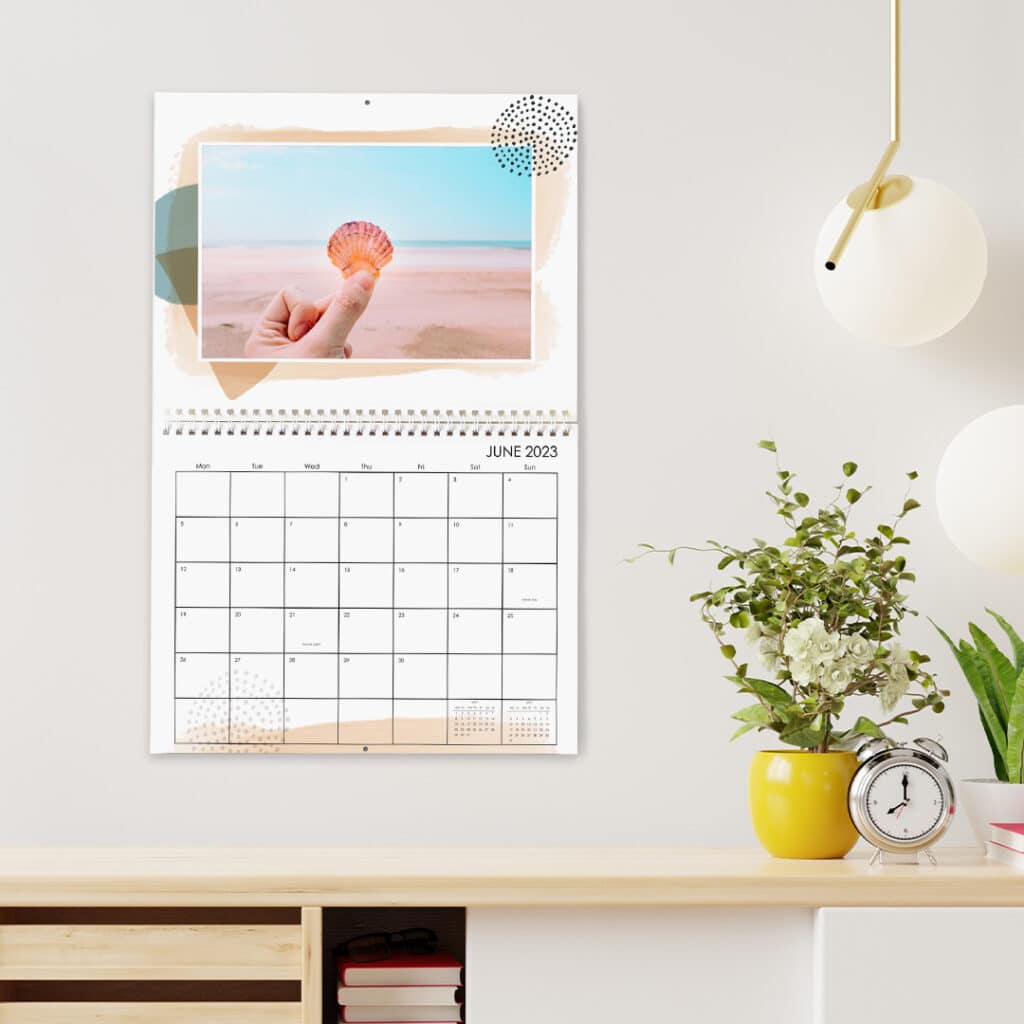
Nothing compares to being prepared for taking your perfect beach snap. You can use the clear horizon of a calm sea with props and your imagination to layer objects in the photo. For example, hold up a little souvenir ship in front of you using the sea as a background. To achieve a blurry background keep the focus on the ship. This will be a great page in your photo calendar or another picture-perfect moment on the wall.
Focus on their character
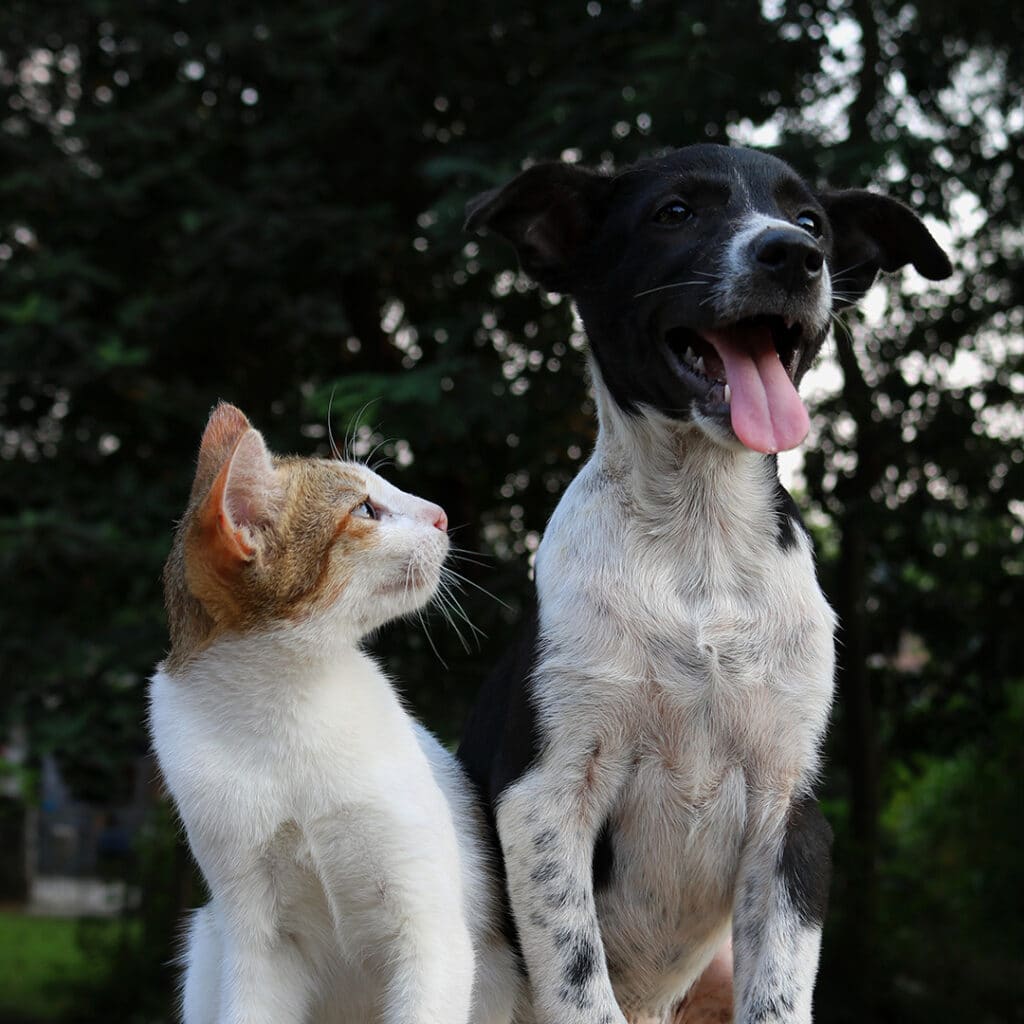
The best pet photos show off the character of the animal, so don’t get bogged down by camera techniques. Instead, choose an automatic camera setting and a continuous burst in order to capture those spontaneous moments and priceless expressions.
Props and surroundings will help you tell a story and bring out the character of your subject.
Pets love their treats
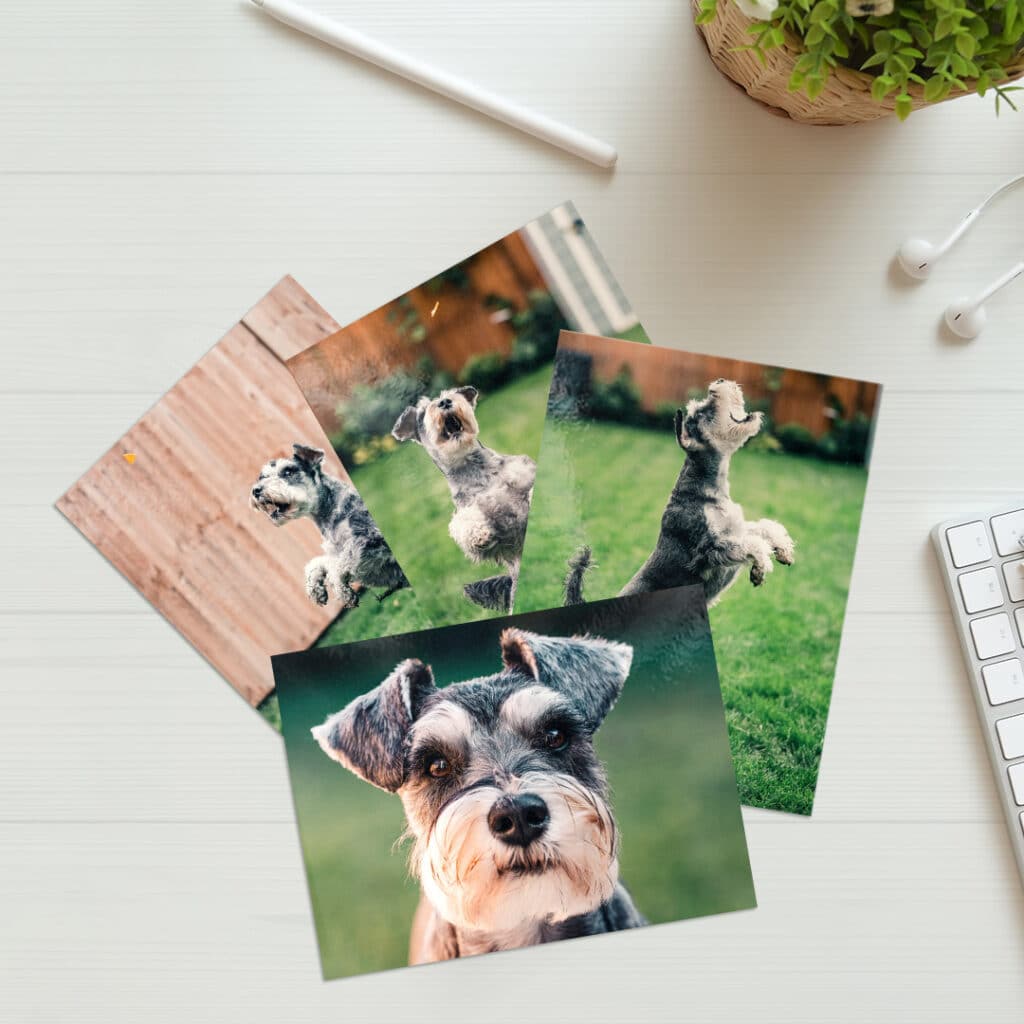
Your typical pet isn’t interested in having their photo taken, but they are much more likely to be interested in treats and snacks! So keep a few in your pocket for times when they’re restless and don’t feel like sitting still. However, be ready with your camera because the moment you pull out the treat, they will probably ruin your carefully prepared composition and trot straight up to you. As such, it can be useful to have a second pair of hands on deck to keep your pet in the desired pose.
Seek out the best light
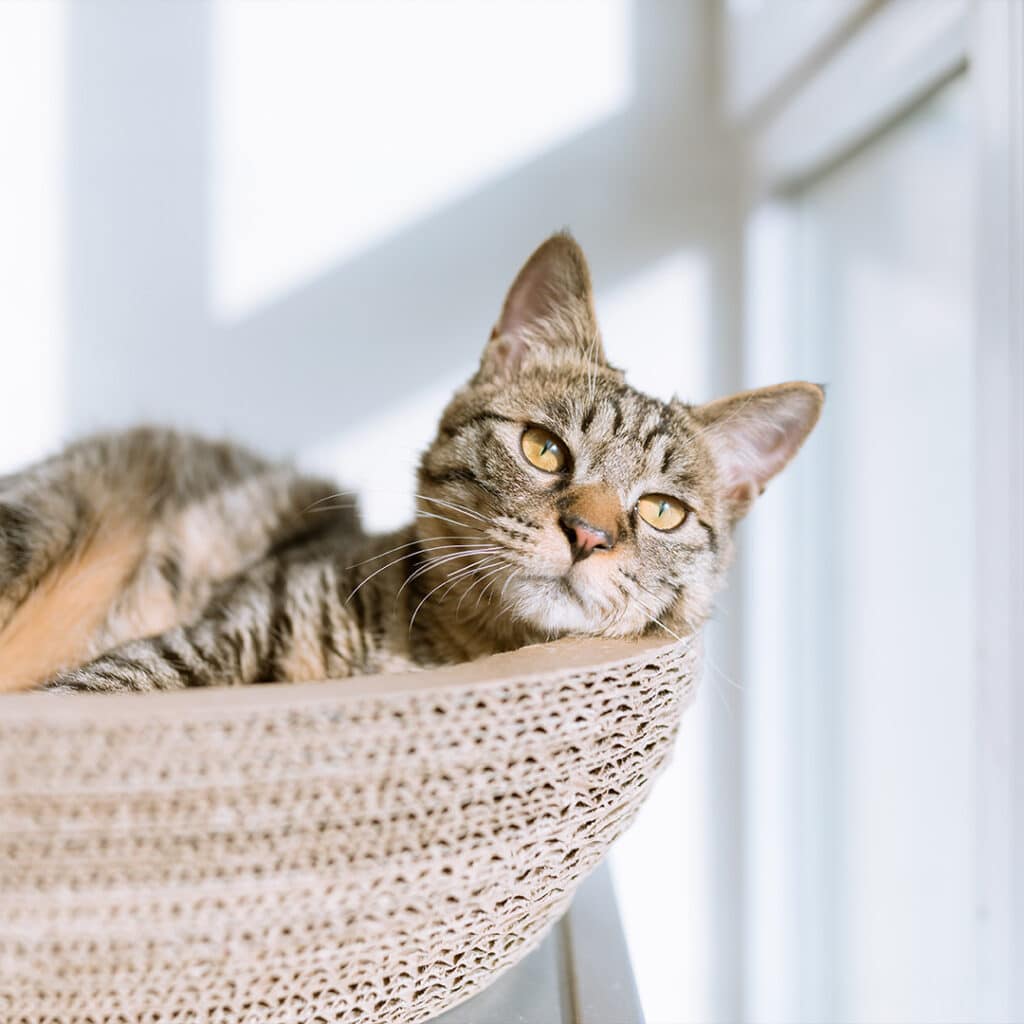
Lighting is key in pet portrait photos. Soft, natural light is ideal, so avoid direct sunlight and wait for cloud cover. If shooting indoors, position the pet near a window. Sometimes strong directional light can elevate the shot. Feathers and fur look wonderful when lit from behind by a low sun. Try backlighting feathers and fur with the evening sun to separate your subject from the background. The edges of their fur will glow as the light filters through it.
Find a fun angle
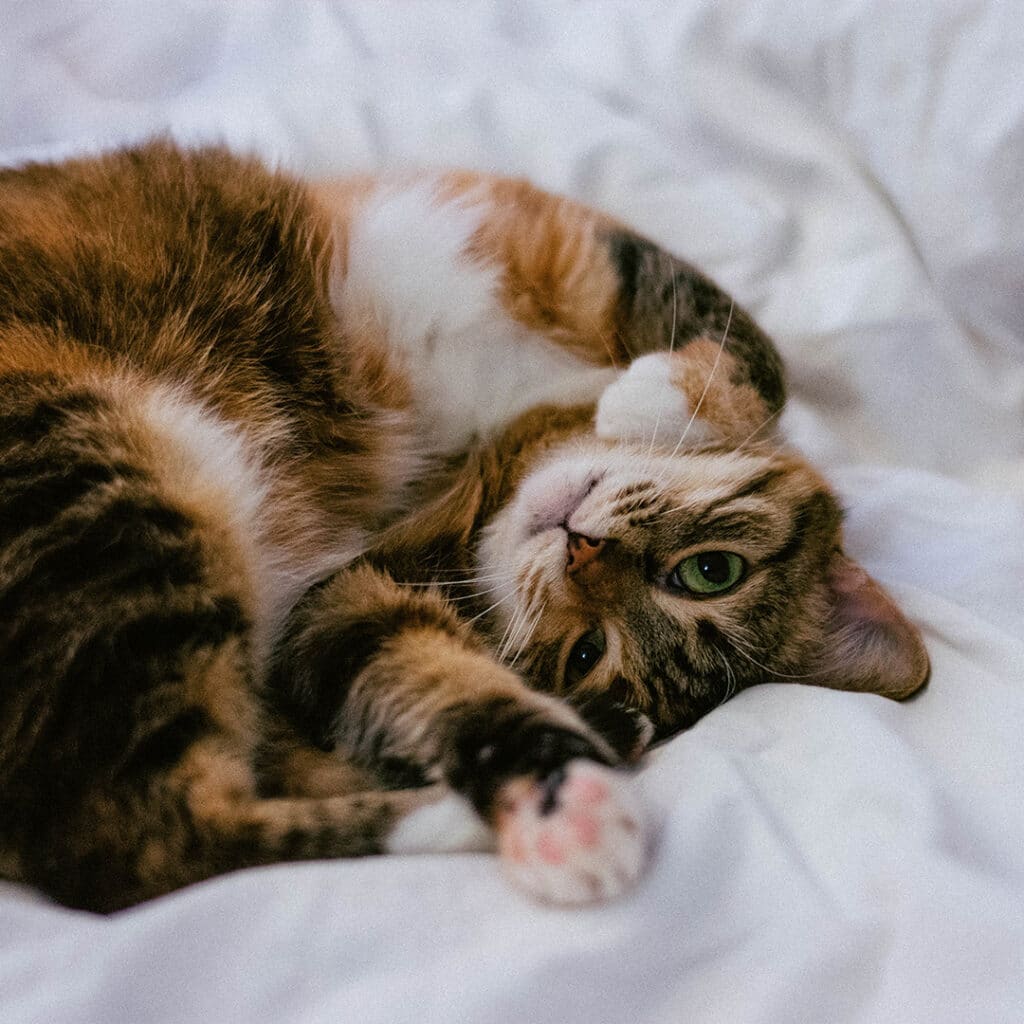
If there’s one thing the internet excels in, it’s photos of pets – especially cats (#catsofinstagram). One way to make your animal friends stand out from the crowd is to find a dynamic angle for your shot. It needn’t be as extreme as putting your camera down a literal rabbit hole, but thinking about your camera angle can go a long way. Perhaps your pet has a favourite blanket you could capture them on, or a tree they like to climb. Including details like this can elevate your photos beyond mere pet portraits, showcase the individual character of the animal and give you something truly worth printing out and keeping on display.
Get them moving
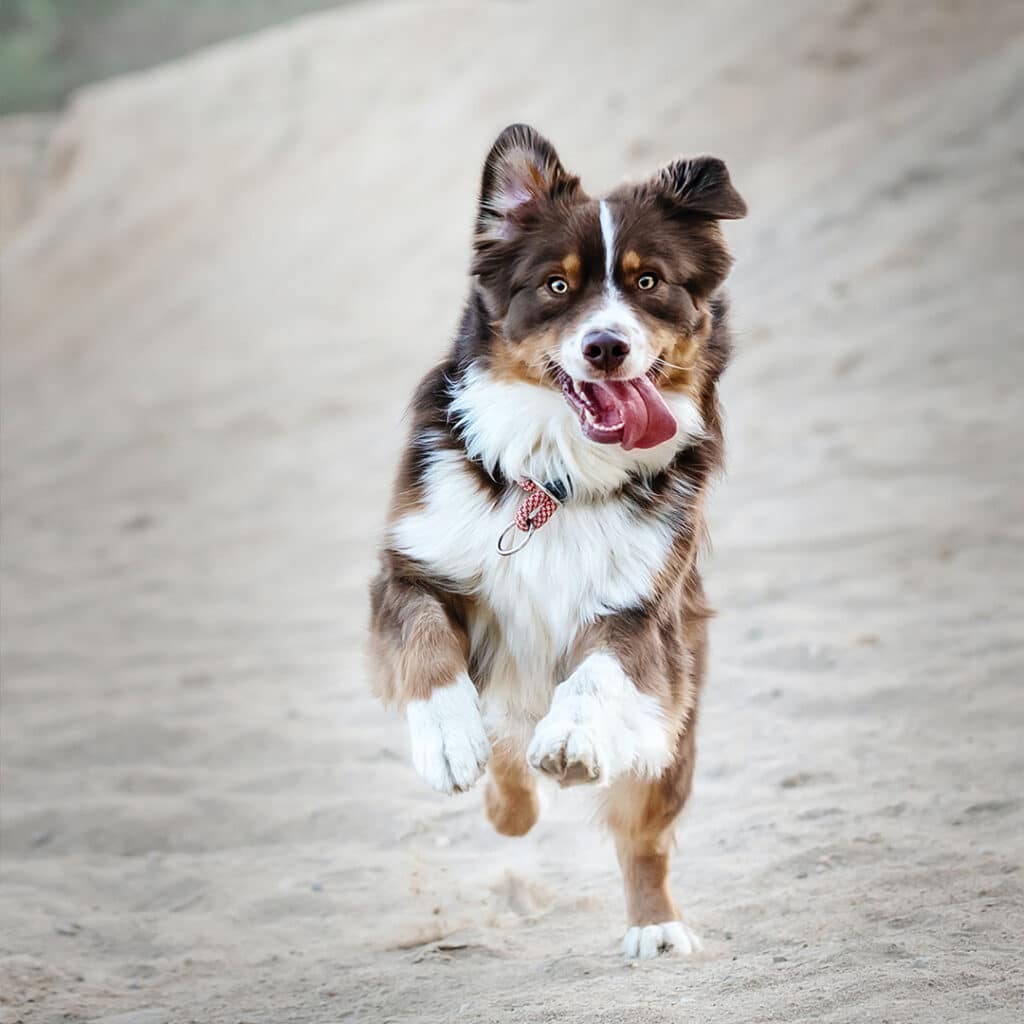
Capturing pets in action can be a challenge, but it’s a great way to show the animal at their athletic best. You’ll need a fast shutter speed of at least 1/500 second, or upwards of 1/1000 second for very fast-moving subjects like jumping animals or birds in flight. Use your camera’s shutter priority mode or sports setting to set a fast shutter speed. Select continuous auto-focus to track the movement and set a high drive rate so you can shoot a burst of rapid fire frames when the action happens.
Shoot at eye level
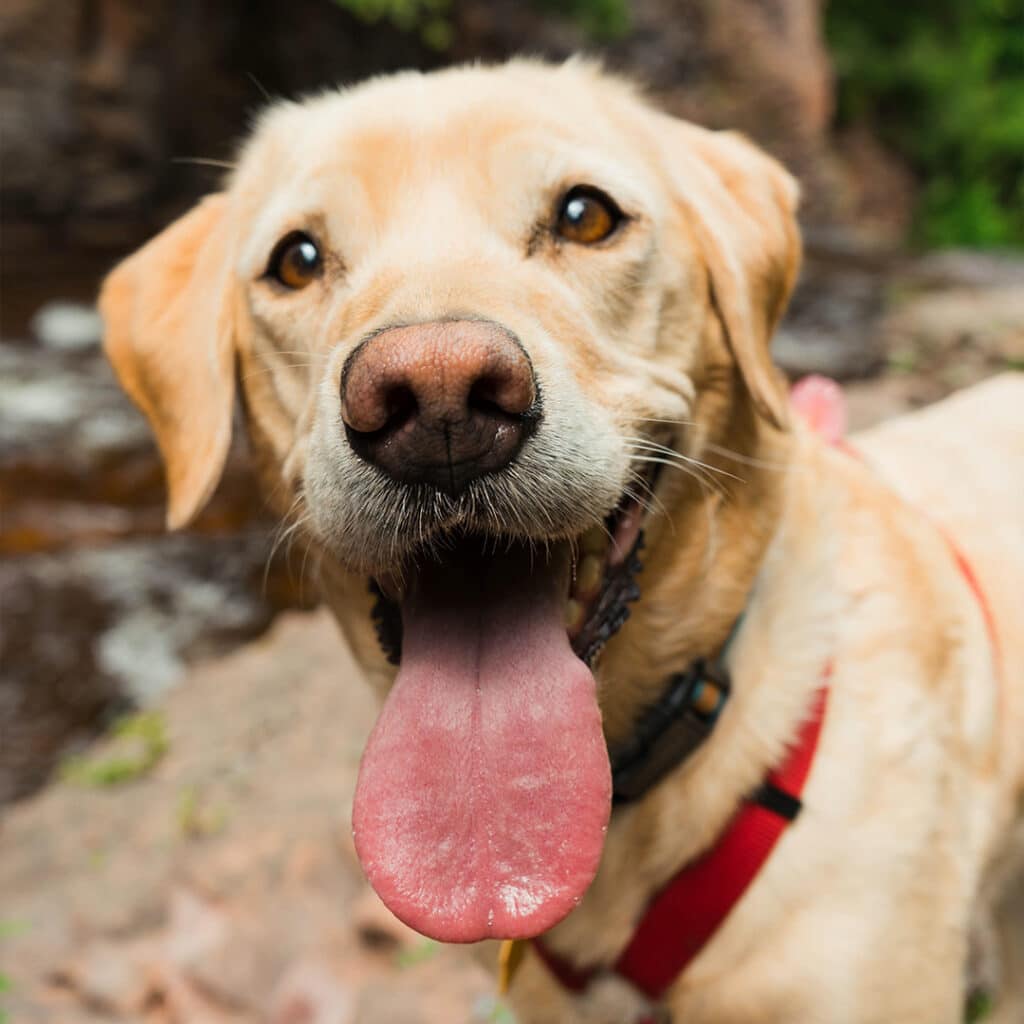
Whether shooting pictures of animals or people, one way to create a connection with the viewer is to place the camera at eye level. This becomes more important with pets as it often means getting down low to the ground. As well as the connection we can create, it’s also a great way to show the surroundings from the perspective of the animal. If you like you can go even lower than eye level so your camera is looking up at the pet. This can make the animal appear statue-like and powerful, plus it’s a viewpoint we don’t often see of our animals in day-to-day life.
Shoot a tight close-up

For a bold pet portrait try framing tightly on the face and ensure that the eyes are perfectly sharp. This can be a bit of a challenge with animals, as the autofocus may land on the end of their nose rather than their eyes (throwing them out-of-focus in close-ups). Use single point autofocus and position the point over the closest eye. Many modern mirrorless cameras have eye-detection autofocus, which can give you a great advantage when capturing animal close-ups.
Use Portrait Mode
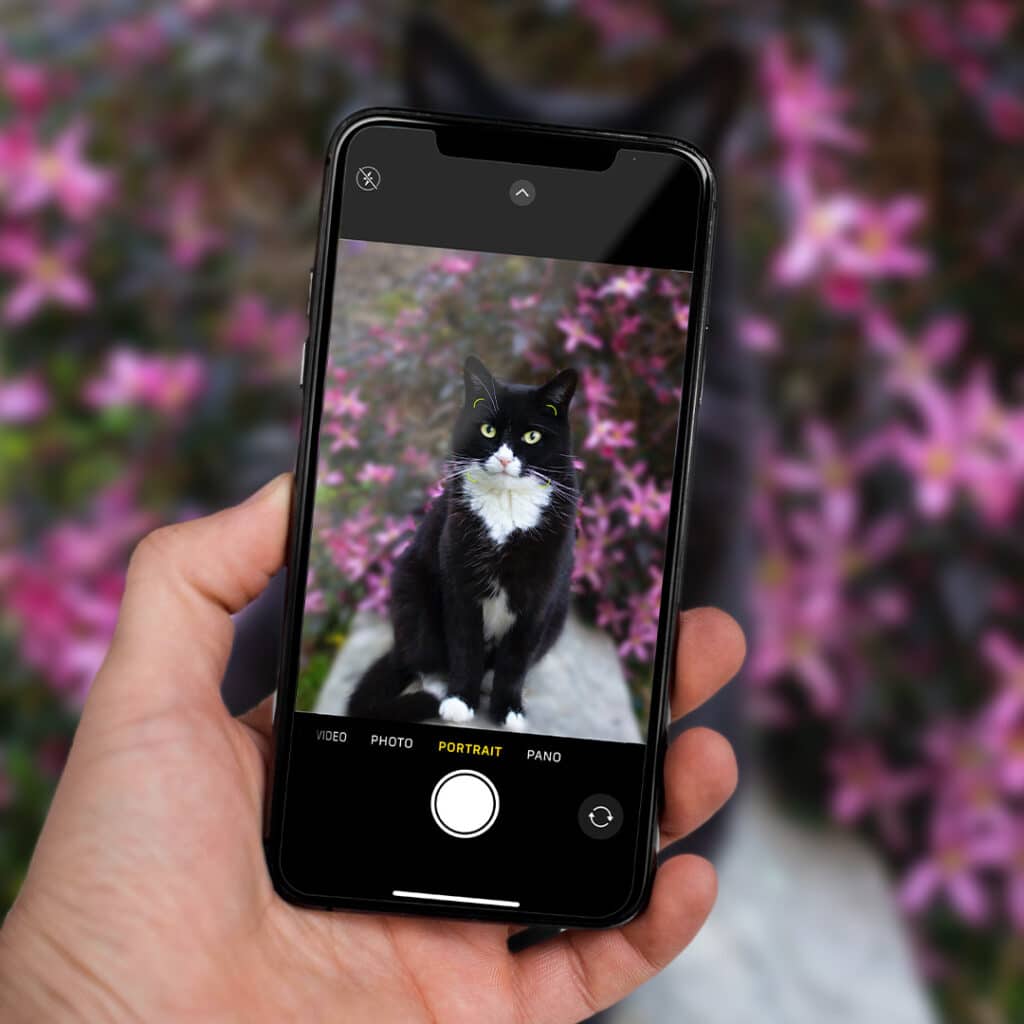
If you have an iPhone, use Portrait Mode to blur out distracting backgrounds.
Open the Camera app and swipe to Portrait Mode.
Follow the tips on your screen. When Portrait Mode is ready, the name of the lighting effect, such as Natural Light, turns yellow.
Tap the Shutter button .
The Camera app lets you know when you’re too close, too far away or if the area is too dark. You can also use True Tone flash, set a timer and apply filters. After you take a photo, you can use the built-in editing features to do things like crop and auto-enhance.
Specify your focus
Most smartphones automatically detect faces, but sometimes you want to change your picture’s focus. Simply tap the screen where you want the focal point to be, and a yellow square will appear (see above). This area will be in focus, and surroundings will be less sharp. Here, the flowers in the foreground are nice and crisp, and the foliage behind it is soft and blurred.
Think square
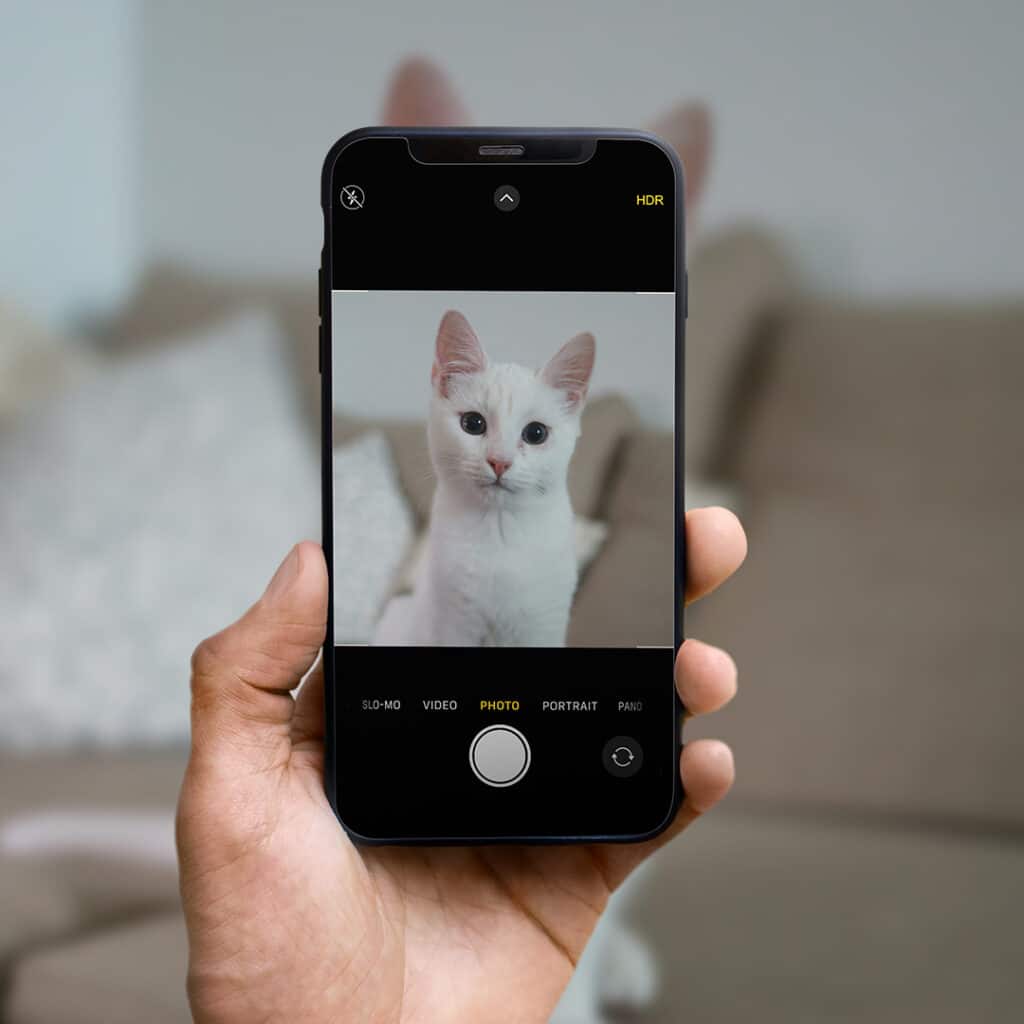
The iPhone app has a fashionable square shot mode that is reminiscent of photos taken by a 2-1/4″ x 2-1/4″ twin lens reflex (TLR) camera like the Rolleiflex. These cameras hark back to the first heyday of square photography between the 1940s and 1960s. Thanks to Instagram, the square format is again in vogue. Swipe to the square option and the shooting screen will change from a rectangle to a square. In the above photo, we decided that we didn’t need that much sky or greenery in the foreground, so we opted for the square frame. (Yes, you can just go in and crop the photo later, but the square option ensures that everything you want to see fits in the frame.)
Try HDR
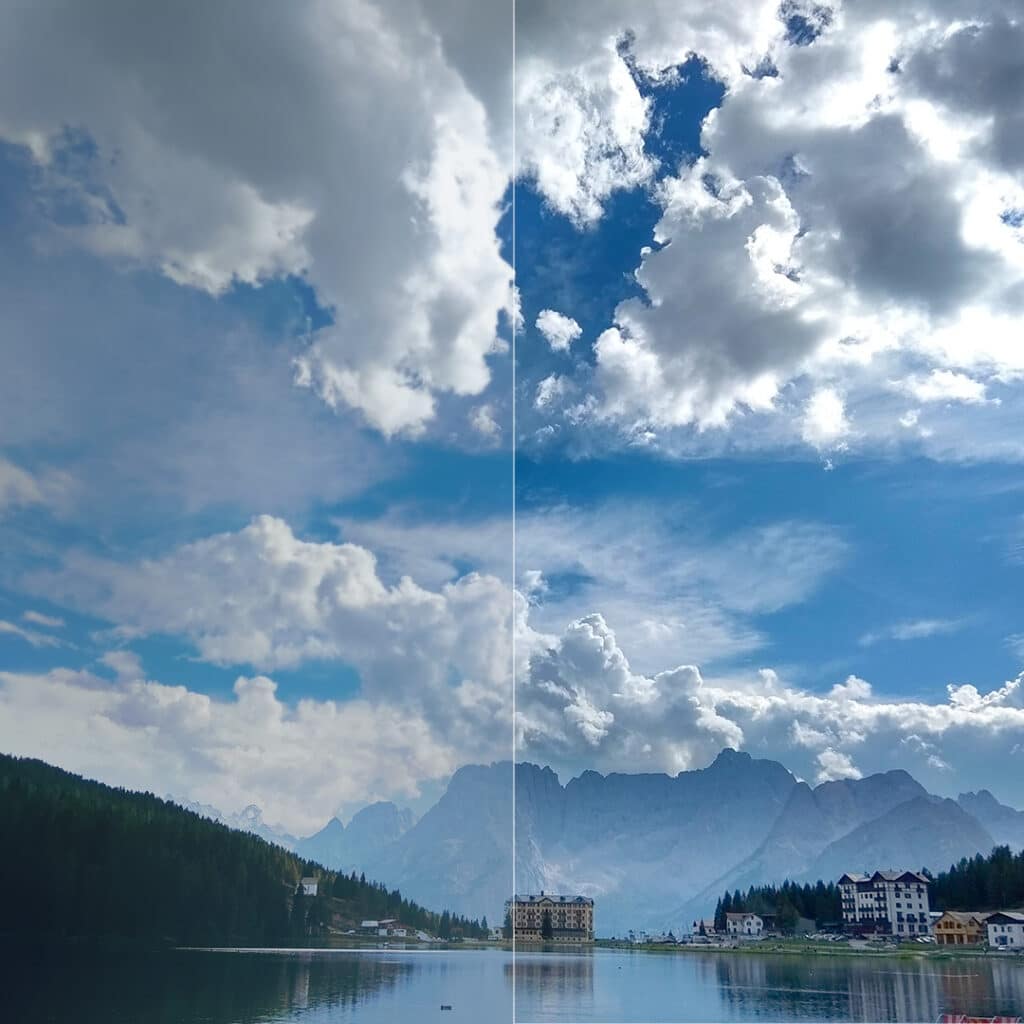
The best way to instantly improve the quality of your iPhone shots is to switch to High Dynamic Range mode (HDR). Select HDR when you’re shooting a subject in front of a strong light source. HDR involves taking a series of photos in rapid succession. The photos are combined into a single image that allows the details of both light and shadow to come through to reveal a crisp, detailed image. See how the sky in the left photo is blown out, but the sky and clouds in the right photo are much more defined?
Use Burst Mode for Action
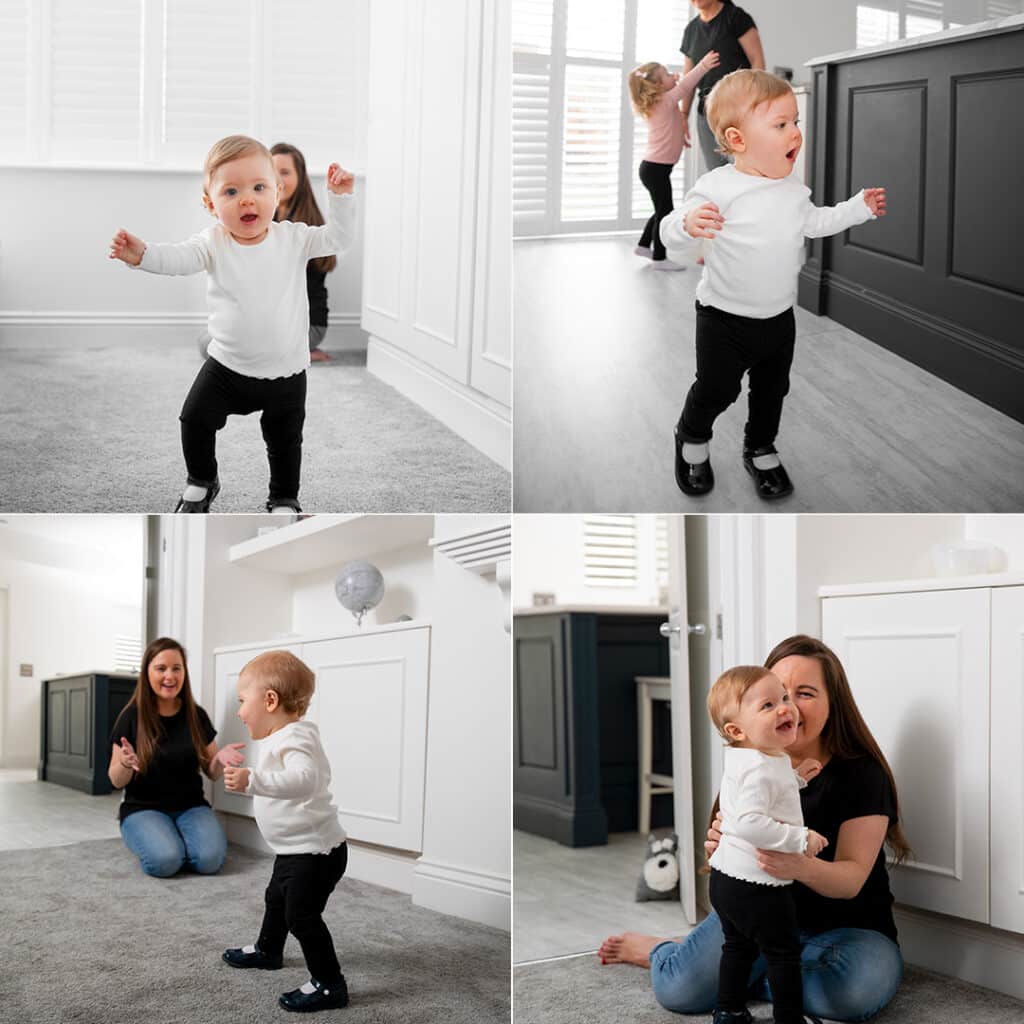
Burst Mode is a handy feature for taking action shots of your kid scoring a soccer goal or your dog running around the back garden. Hold down the shutter button to take 10 pictures every second or so, and release the shutter button when you’re done. Go into your Camera Roll and tap on the burst mode stack you want to view.
Some photos in the burst mode stacks will have grey dots underneath them. Your iPhone automatically chooses what photos it thinks are the best, making it easy to identify the sharpest image. Of course, you have the ultimate say in which photos you keep or delete. We had a lot of fun experimenting with this, if you couldn’t tell…
Let the grid help you
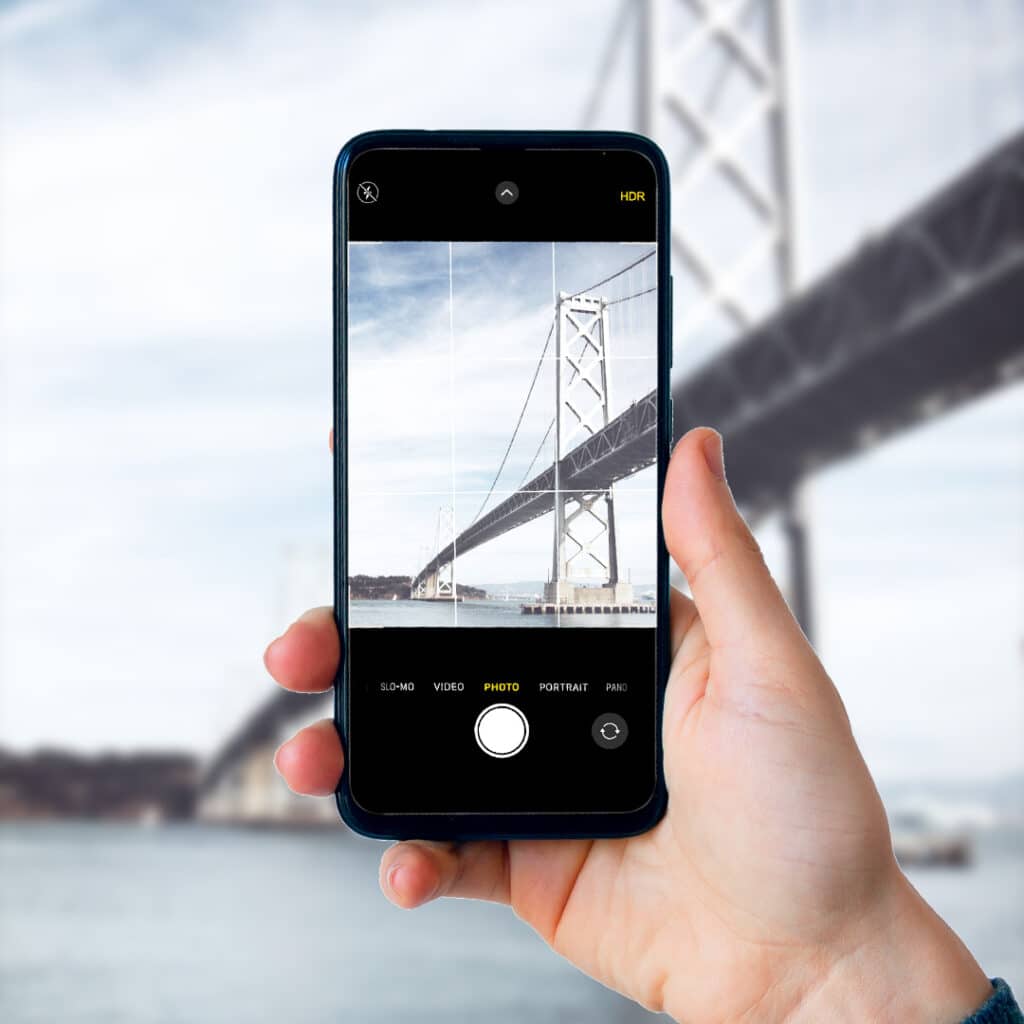
The iPhone has a cool Grid Mode that can help better frame people, pets, horizons – any subject, really. Turn this feature on in your phone’s Settings. Select Photos & Camera and turn on the Grid option to reveal white line guides. Place points of interest at the intersections of the white line, effectively ensuring your photo adheres to the Rules of Thirds. By following this rule, your photos will be instantly balanced. In this photo, the Bay Bridge is positioned in the second and third panes of the frame, rather than spanning across the photos.
Which tips did you use and how did you celebrate World Photo Day?
What did you create on Snapfish? Share it with us on social media! You can tag us with @snapfishuk in your photos on Instagram or Facebook or use the hashtag #snapfishuk. Don’t forget to follow us on YouTube , Twitter and Pinterest, too. We love seeing what you create.
