
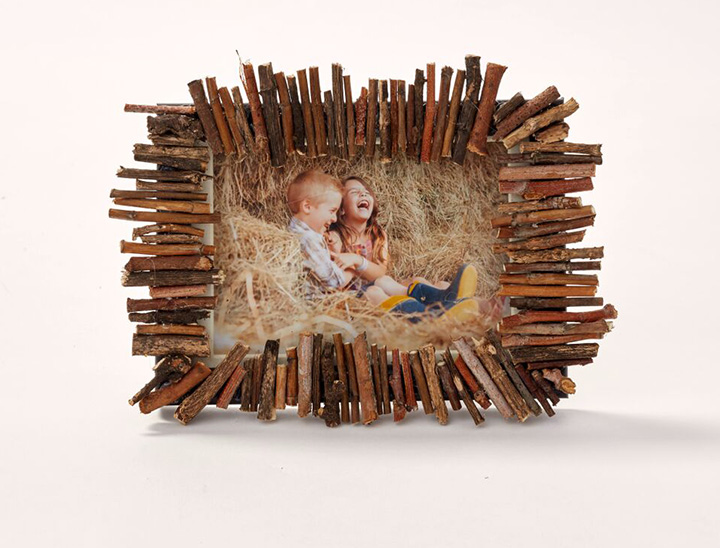
Are you looking for new ways to display your Snapfish prints? Have some fun with the kids and create our DIY rustic twig frame, follow these 5 simple steps
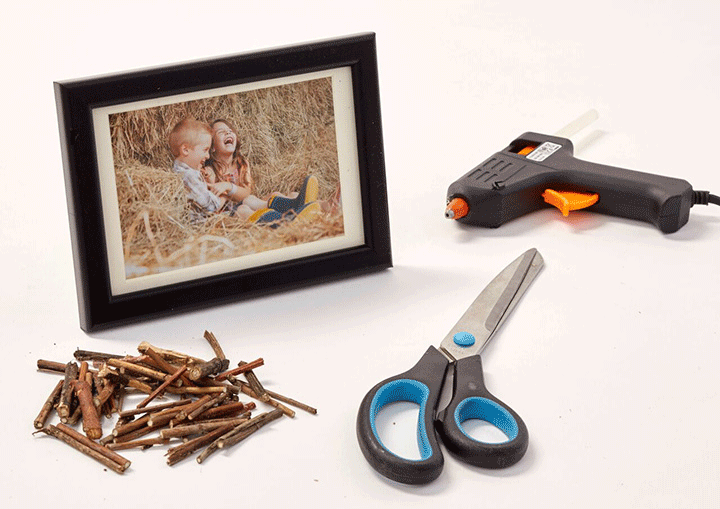
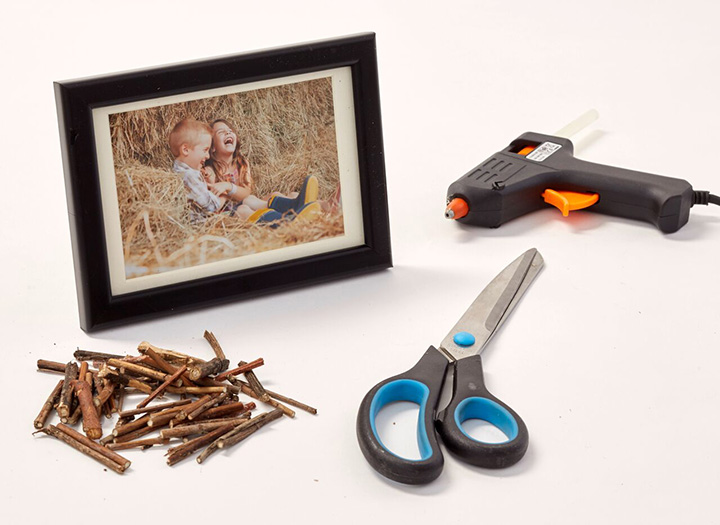
What you’ll need:
- Dry twigs
- A photo frame
- Scissors
- Glue
- Favourite Snapfish print
Instructions:
1. Get the kids to help collect some twigs from your back garden, or local park.
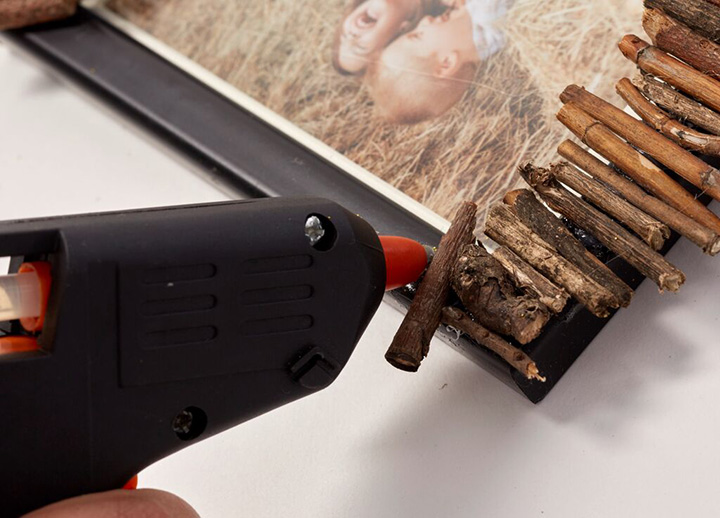
2. Measure the twigs against the frame, and cut down to size using your scissors. You want the twigs to be long enough to cover the outside of the frame, but short enough that you can still stand your frame up.
3. Remove the sheet of glass from the frame.
4. Begin to glue your twigs to the frame, gluing them down one by one until the outside of the frame is covered.
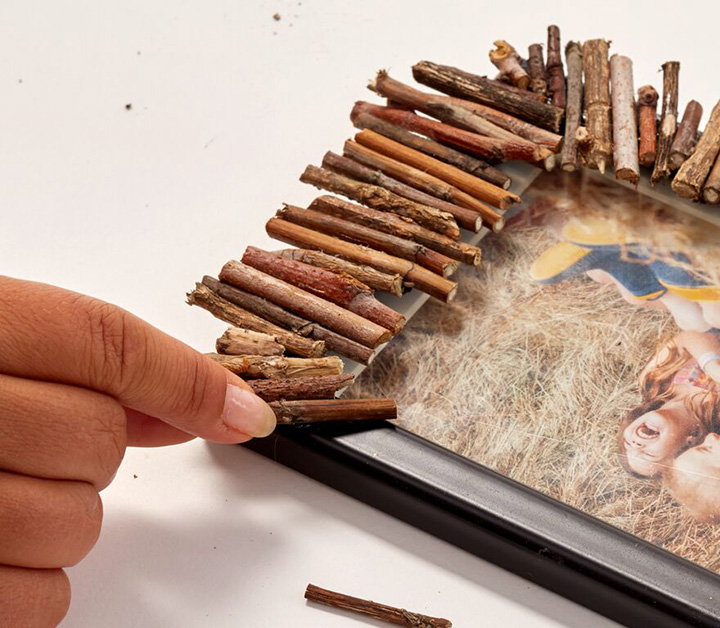
5. Once the glue has dried you can add your favourite print and voilà your DIY rustic twig frame is complete!
Give our DIY a go, share it with us on social media! You can tag us with @snapfishuk in your photos on Instagram or Facebook or use the hashtag #snapfishuk. Don’t forget to follow us on YouTube, Twitter and Pinterest, too. We love seeing what you create.