By Michelle from WhatMummyThinks
If you’re anything like me, you will have thousands of photos on your camera or phone and once every 6 months or so, you’ll do a batch of printing but never actually do anything with the prints! I know I’ve got so many photos that I haven’t even put in albums yet but I am making a real concerted effort to actually do more with my photos. With the help of Snapfish, I have created a few ideas that you might like to try out either for yourself or to use as gifts!
The first idea is the most simple; creating a memory book. This idea is something that I started when my husband and I started dating. I used a book he brought me home as a gift from his trip to Bali and then every time we did something or went somewhere I’d add it to the book. It’s got years of wonderful memories in that I can share with my children when they are older.
I merged this idea with the birth of my children and decided to create a memory book of my children and all of the special things we did together.
All you need for this craft is:
- Some sort of scrap book
- Photo prints / trinkets
- Pens/ glue to decorate pages
As I had so many photos (lots were very similar) and I never really ended up looking at them as there were just too many, I really had to try and be selective. So the idea is to take just a couple of photos from all of the most important events that you attend and create a book full of memories that will last for years to come. When I started this for my first child, I really struggled to just pick 2 or 3 photos but as I’ve continued the project, I’ve got much better at choosing just a few pictures.
Once you have the images that you want, you can decorate the page with writing or trinkets from the day. I found this adds to the memory and allows you to recall more than what is in the photo as well as keeping everything in one accessible place. Isabella really loves asking what all the different flowers or shells are and where they came from too.
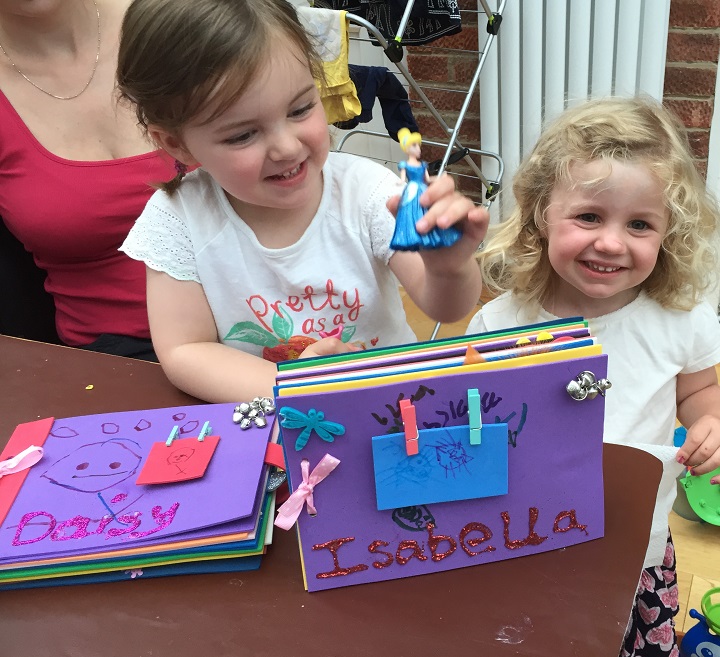
As Isabella has shown such an interest in our memory books, we thought it would be a lovely idea to create something similar for her that she could always look at and keep with her.
For this craft, you will need:
- Foam or thick card to create the pages.
- Photo prints
- PVA glue
- Stickers/sequins/ decorative items
- Ribbon
- Hole punch
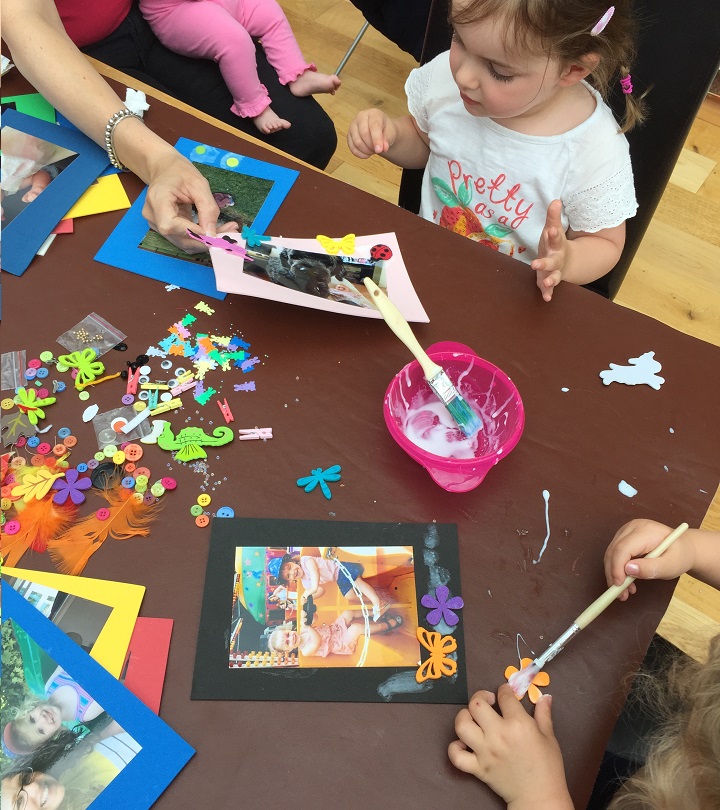
We let her choose 10 of her favourite photos and she glued them onto some foam before decorating the page and leaving it to dry. After all the pages were dry and she had created a front cover, I hole punched the foam pages and fixed it all together using ribbon; she now has her very own photo album with some of her favourite memories.
I really love that she picked a photo of her when she was a baby with her Great Grandad John who passed away recently because it shows just how much she still thinks of him, even though she doesn’t understand that he’s gone. This photo idea means you can keep all of your child’s important people close, even if they don’t live locally or aren’t around any more.
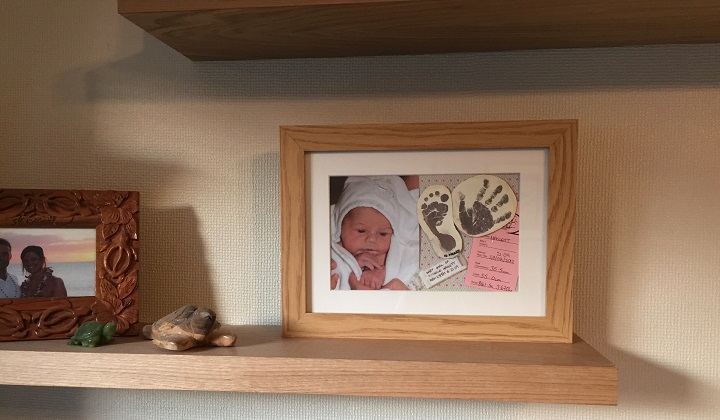
My next craft ideas need a little more thought but are really easy to make and look great too. Staying with the theme of memories, I used a memory box frame to create a keepsake box with some items from my children’s births that are usually hidden away in a baby book and only looked at once in a blue moon. It was after the birth of my second child that I started looking back though Isabella’s baby book that I decided I wanted to actually see some of these keepsakes on a daily basis.
Instead of hiding everything away in a book, I got out one of the ‘firsts’ photos, their hospital tag, the tape measure used to measure them etc and I played around with a few backgrounds and layouts before sticking them all down on the board of the photo frame and hanging on the wall. This really is such a simple idea but involves cutting and sticking some of the things that you would have in your baby books.
All you will need for this craft:
- A box frame
- A photo print
- Items from baby book
- Colourful card for backing
My final idea is probably the trickiest, not necessarily in terms of ability but because you need to find the perfect photos. Creating photo letters can be a really lovely gift idea and look great in the home too.
For this craft you will need:
- Wooden or card letters
- Photo prints
- Modge Podge
- Scissors/scalpel
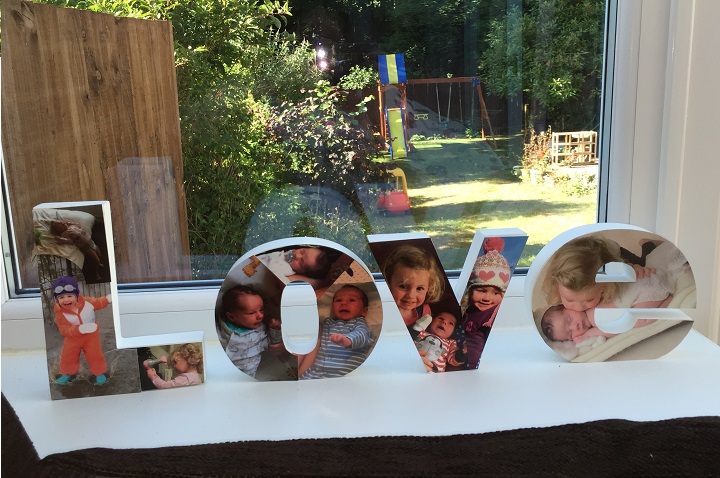
I used card letters to cover with some of my favourite images of my children that I perhaps wouldn’t use on their own in a frame. Once I found the photos that I wanted to use, I had to move them around to find the best fit for their letters. I used scissors to cut the photos out but a scalpel would probably be better if you have one.
After cutting out all the photos, I used Modge Podge to secure all the images to the letters and create a nice shine to them. Although this example shows colour photos, I think having the photos in black and white would make it seem less busy if you didn’t like the blast of colours. I wanted to use coloured prints to brighten up my conservatory but know lots of people would find this too busy looking. Another idea to soften this look, but one that’s a lot harder to achieve, is trying to find just one photo for each letter like the ‘e’ in my ‘Love’ letters. My husband much prefers this idea but you really do have to either pre-plan your photos or have a lot of patience to wait and find photos with the perfect fit.
What did you create on Snapfish? Share it with us on social media! You can tag us with @snapfishuk in your photos on Instagram or Facebook or use the hashtag #snapfishuk. Don’t forget to follow us on YouTube, Twitter and Pinterest, too. We love seeing what you create.


