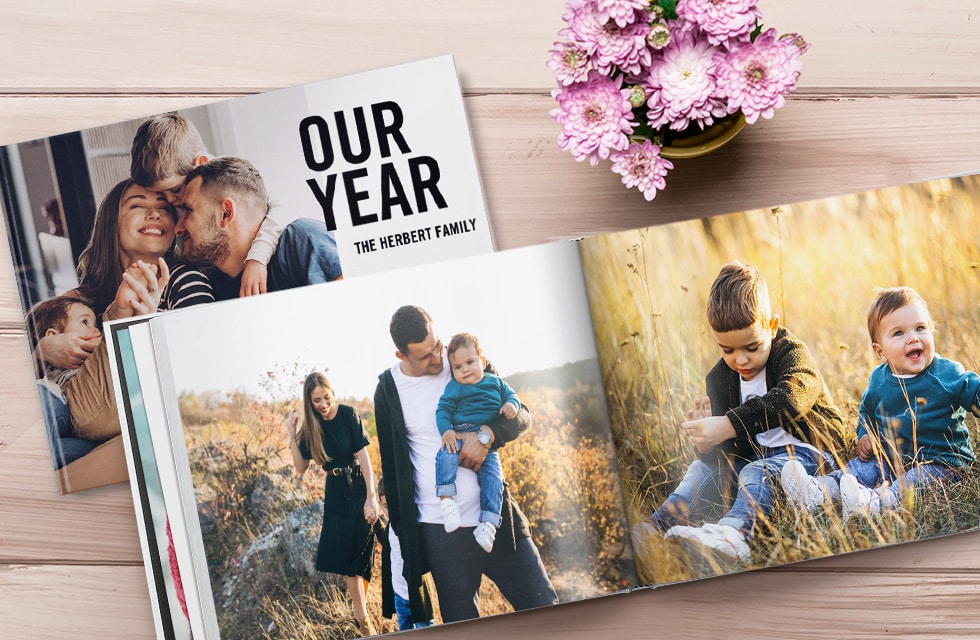
Printing photographs is just as important as taking them. When you’re trying to take a great photograph, there are so many variables to take into account, such as lighting, focal length, composition, depth of field, perspective… so why should the printing of those images be any less carefully considered? There are no hard and fast rules when it comes to preserving your photos, but these are your memories, after all.
Creating a photo book with Snapfish gives you all the tools, techniques and tricks to tell your unique stories exactly the way you wish to tell them. We offer an incredible (and incredibly user-friendly) photo book ‘builder’ on our website and free photo app that you can easily navigate on your computer, tablet or mobile phone. We’ve made the photo book customisation process as smooth as possible when it comes to sorting through and editing your images, adding text and fun embellishments, and even using convenient pre-made photo book templates. Now that you’re ready to put together your ideal photo book, let’s go over some pro tips so you can make the most of your favourite captured moments!
8 Tips for Creating the Perfect Photo Book
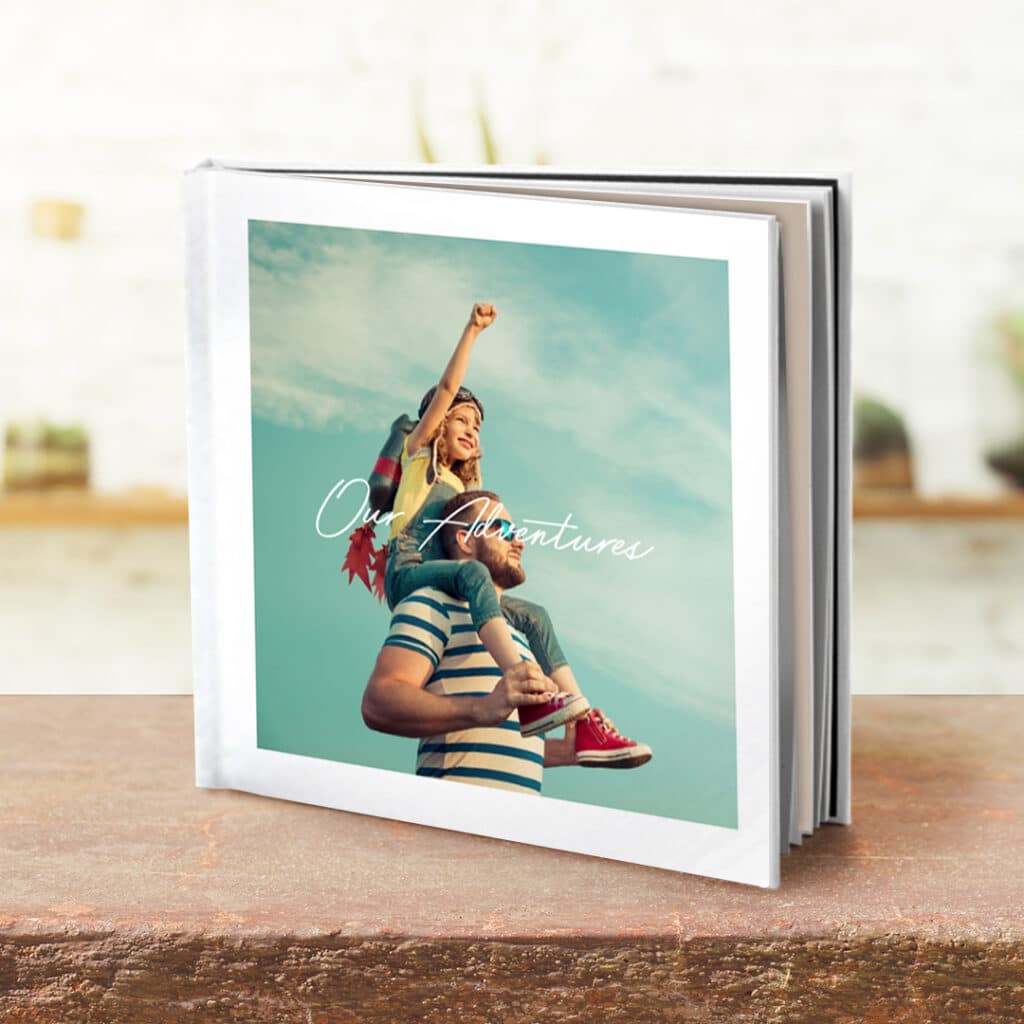
1) Choose your photo book cover picture carefully
Your photo book cover should make a strong impression since it will hint at what’s inside so take the time to find the best picture among the batch. If you’re not able to find a picture that adequately expresses the content, you can opt for a classy, high-quality material finish for your photobook cover. You can also embellish it with text and some of our unique clip art.
2) Consider the order of your photos
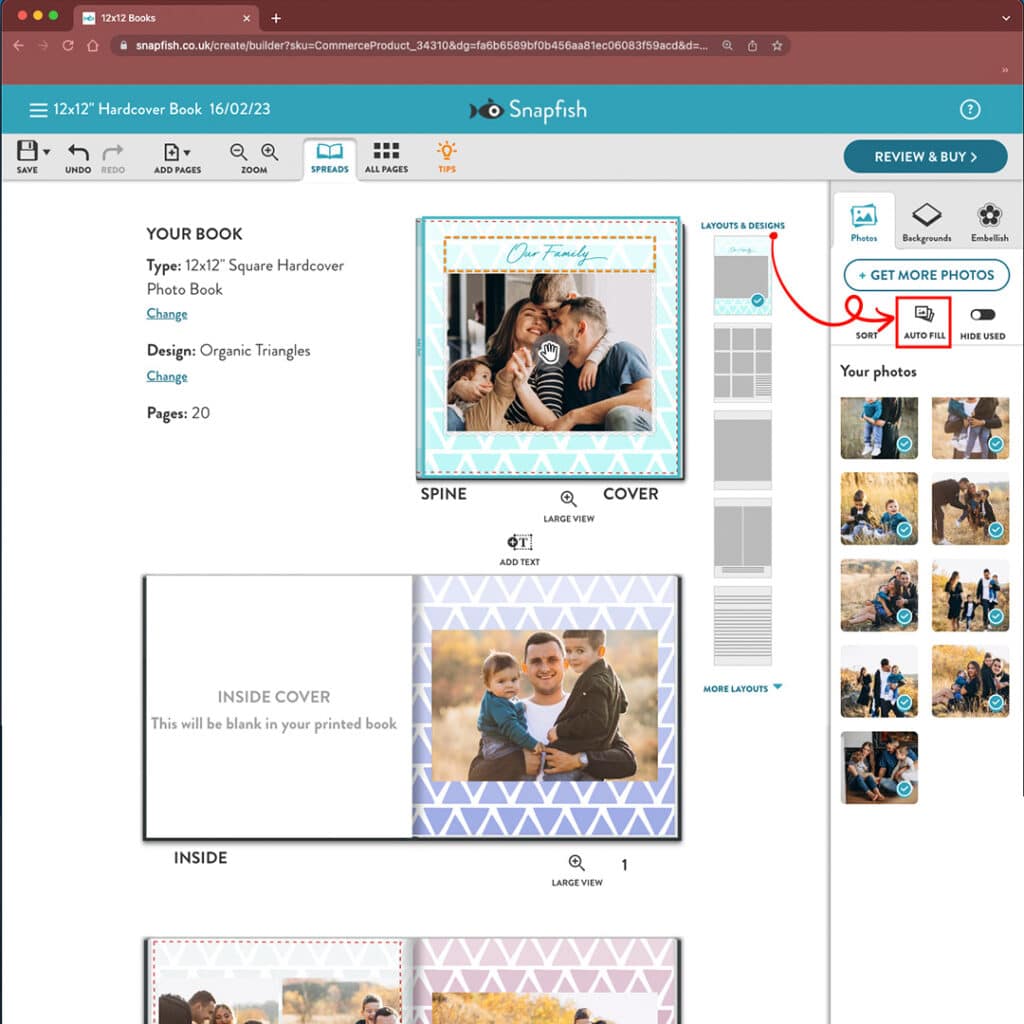
Even the most beautiful images can look like a big mess if tossed or crowded together without much thought. Try to follow a coherent order when laying out your pages, whether you’re ordering them according to a timeline, theme or location. With Snapfish’s photo book ‘auto-fill’ feature, you can quickly fill your photo books with chronologically-organised pictures that you can then go on to adjust either manually, or using our easy to use ‘shuffle’ option.
3) Set the stage
Start your story with a strong introduction to lay the groundwork for what the viewer is going to see inside. Customisable front and back covers can be used to write something poetic, funny or inspiring. You can also make the most of Snapfish’s photo book layflat binding to display a dramatic photo as soon as the cover is opened.
4) Focus on the important moments
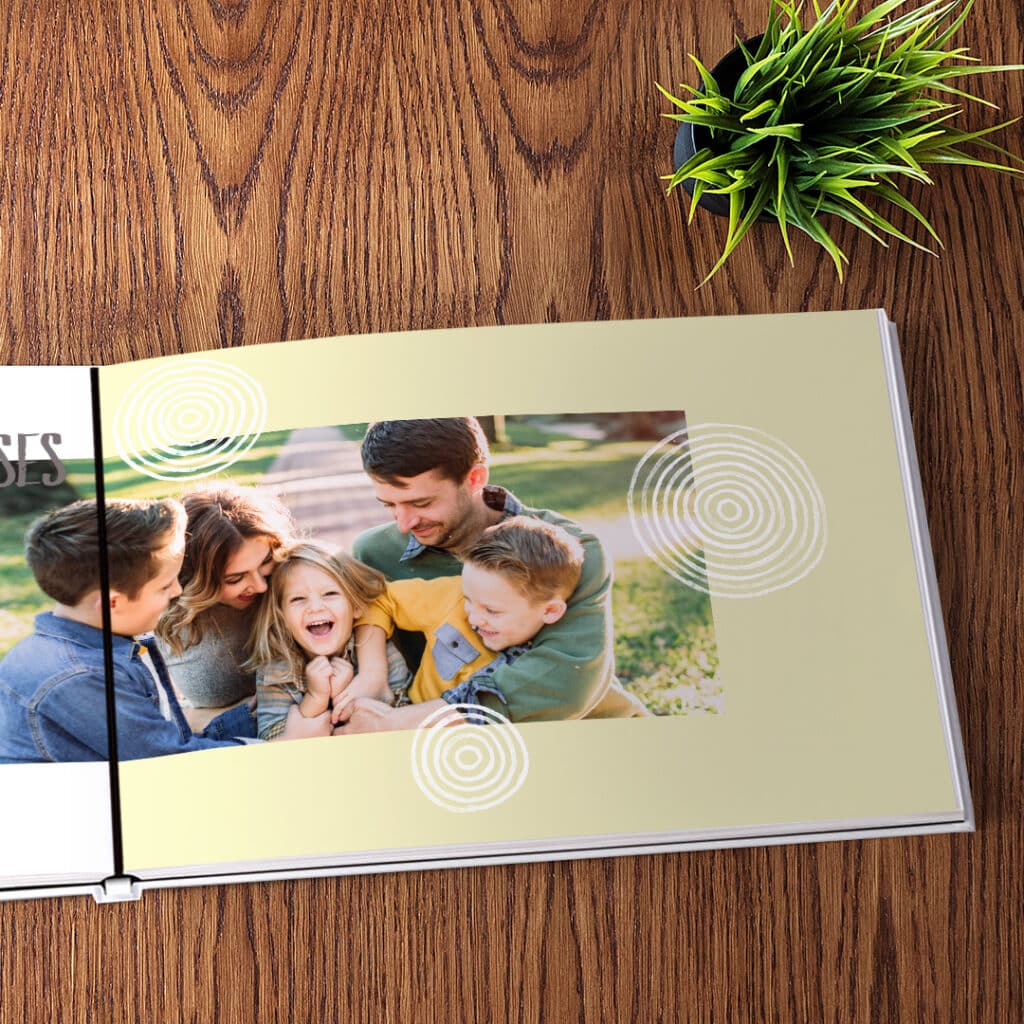
The photos most important to you should be given top priority, in terms of size and positioning, while less relevant shots should be kept smaller. Think about how magazines use ‘money shots’ on a page, with strong scene-setting shots to surround or lead up to them. Just bear in mind that wide-angle shots require more space than close-ups, but the ready made photo book layouts will ensure that every element is properly placed.
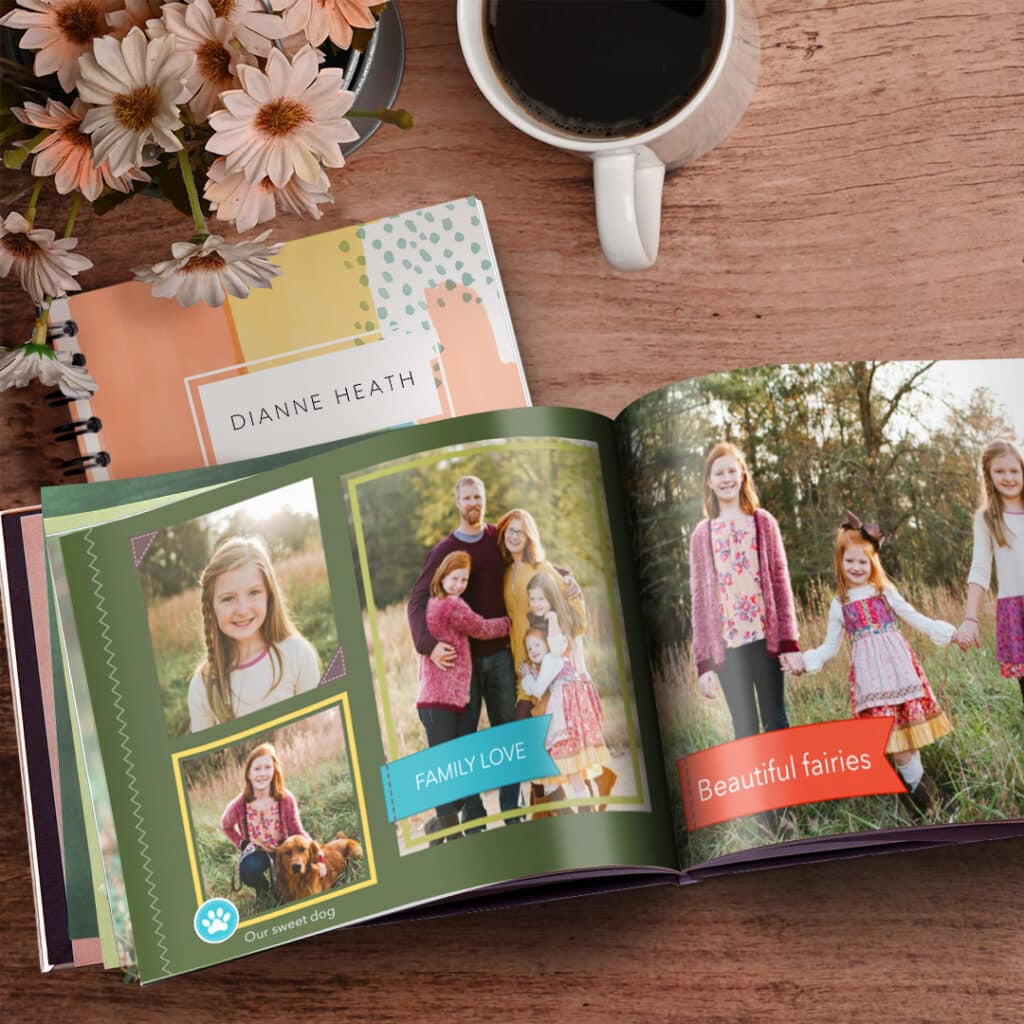
Spiral Notebook “Pastel Watercolors”
5) Don’t be afraid of space
It can be important to leave space between your photos. White spaces give the eye and the page a much-needed break, as the viewer’s gaze moves from image to image, and they also help create a hierarchy between shots. In addition to using pre-made templates, Snapfish’s ‘auto-fill’ layout and ‘shuffle’ function can help you with this.
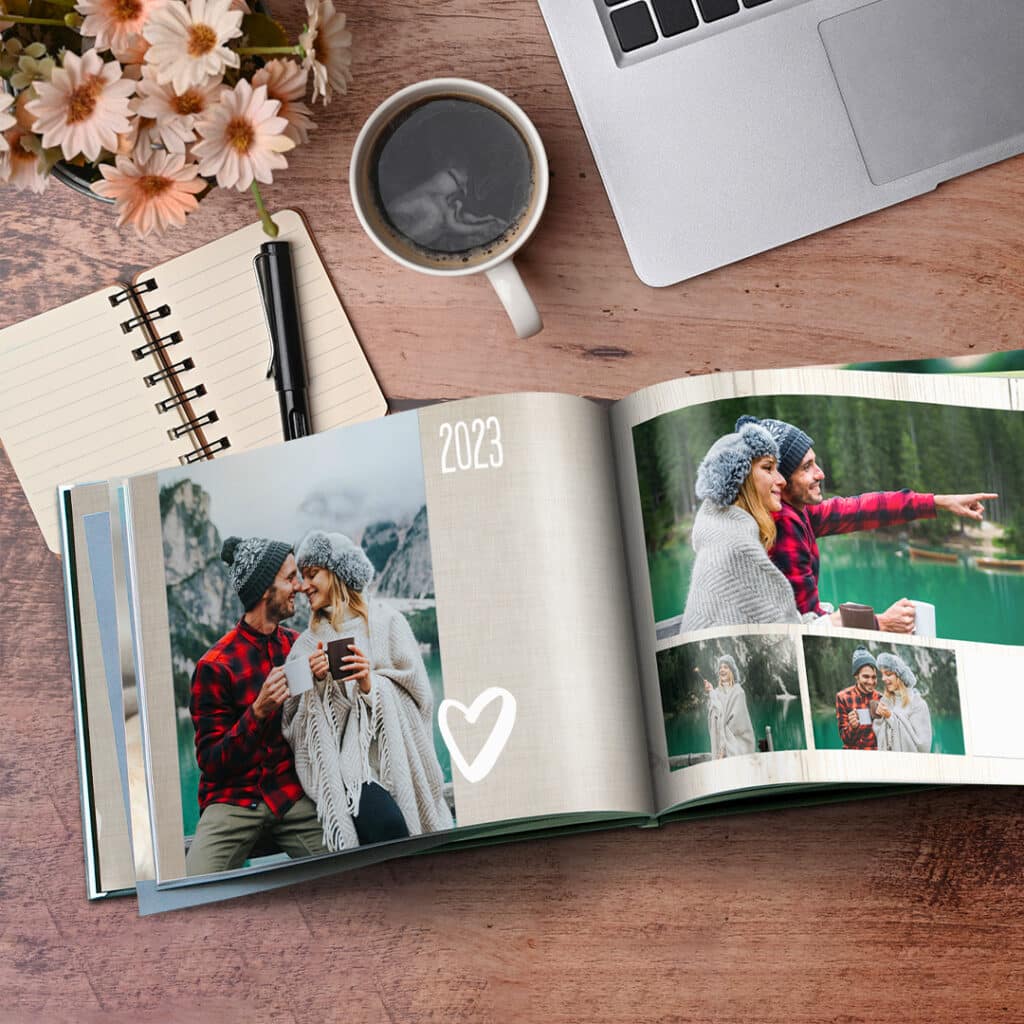
6) Consider the whole picture
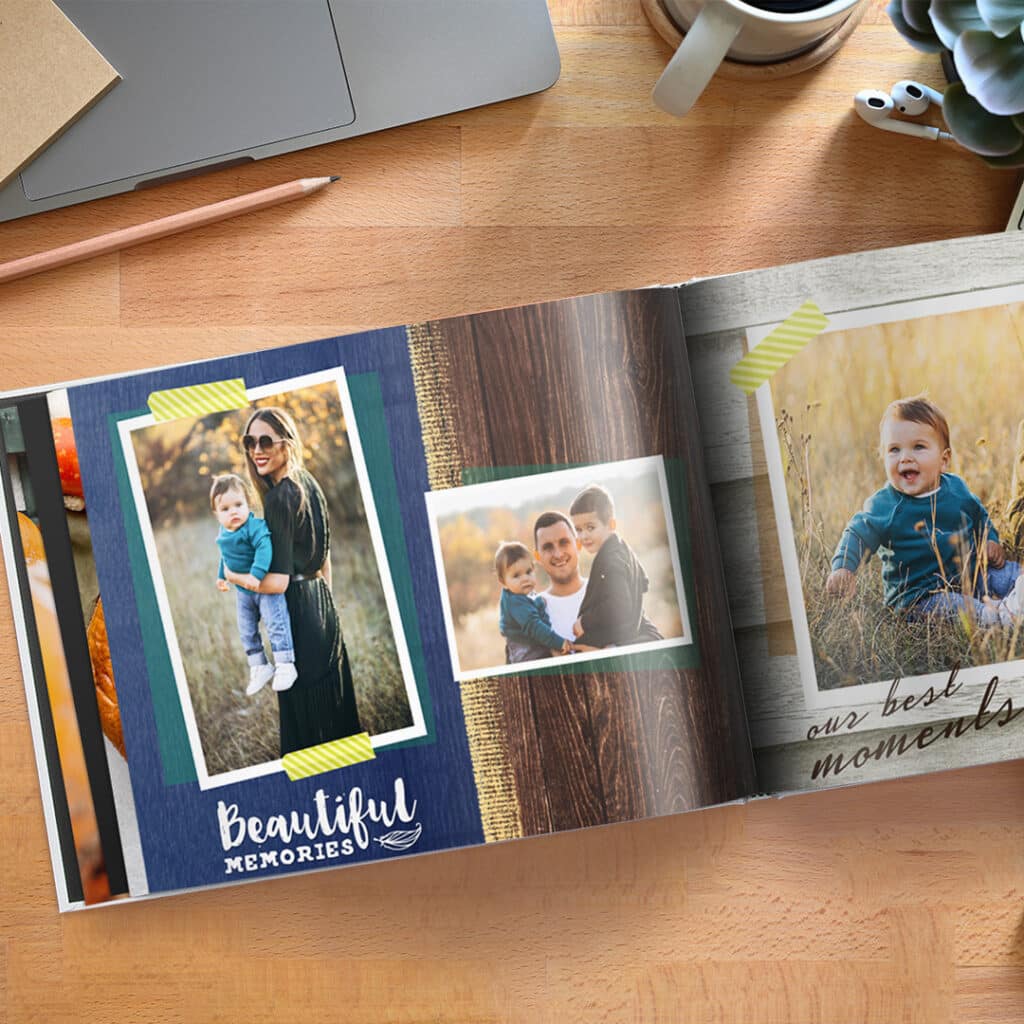
They say a picture is worth a thousand words, but you can definitely enhance your own photos with backgrounds, frames and clip art. What’s important, though, is that your photo book elements are harmonious in order to ensure a consistent look. Different elements need their own space and shouldn’t have to compete against each other for attention.
7) Showcase your showstoppers
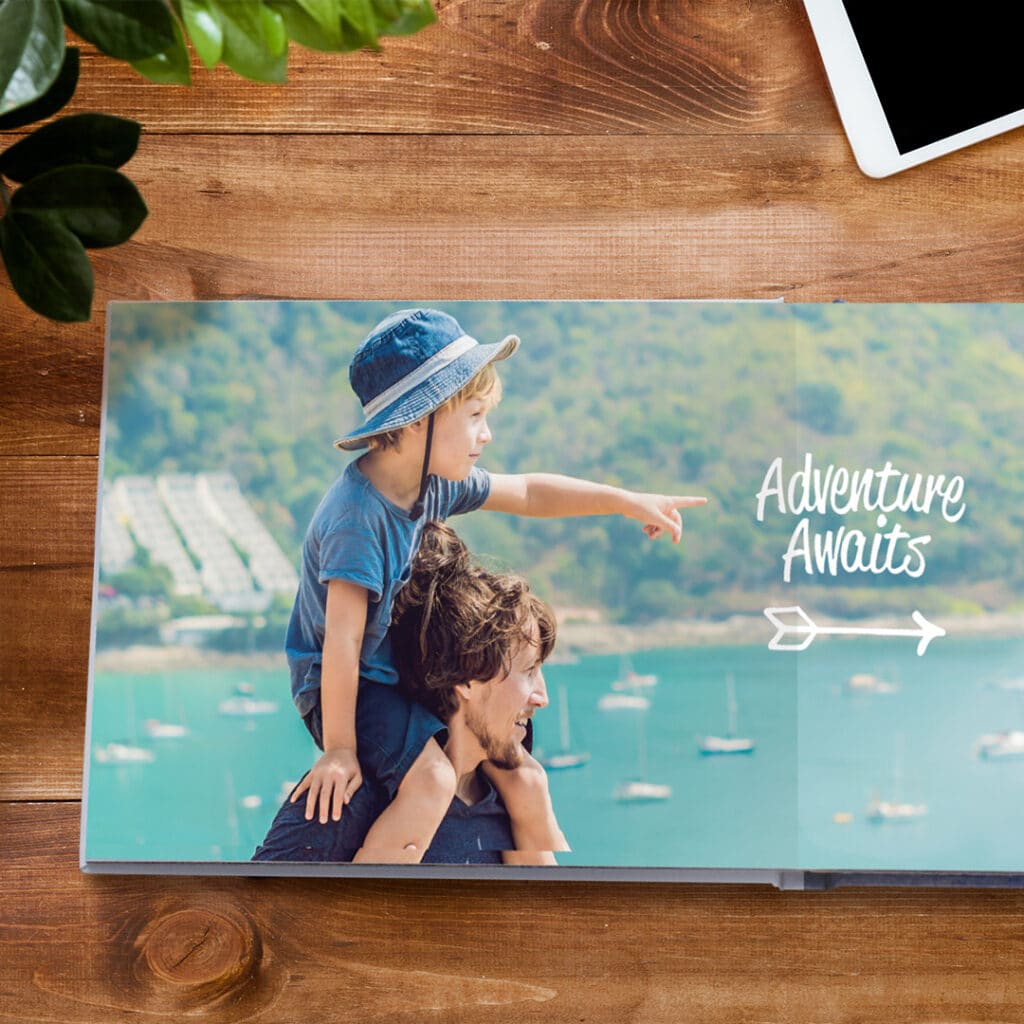
Snapfish’s layflat binding means that open pages are perfectly flat, giving you the opportunity to present an image across an entire double-page spread for maximum impact. Alternatively, you can use a photo as a background to support and enhance other images or even a line of text such as a favourite quote.
8) Keep it simple
Don’t go overboard with fonts. Try to stick to a single font family, and exploit its variations and aspects in order to tell your story. This way you can create a subtle visual language that pairs well with your photos.
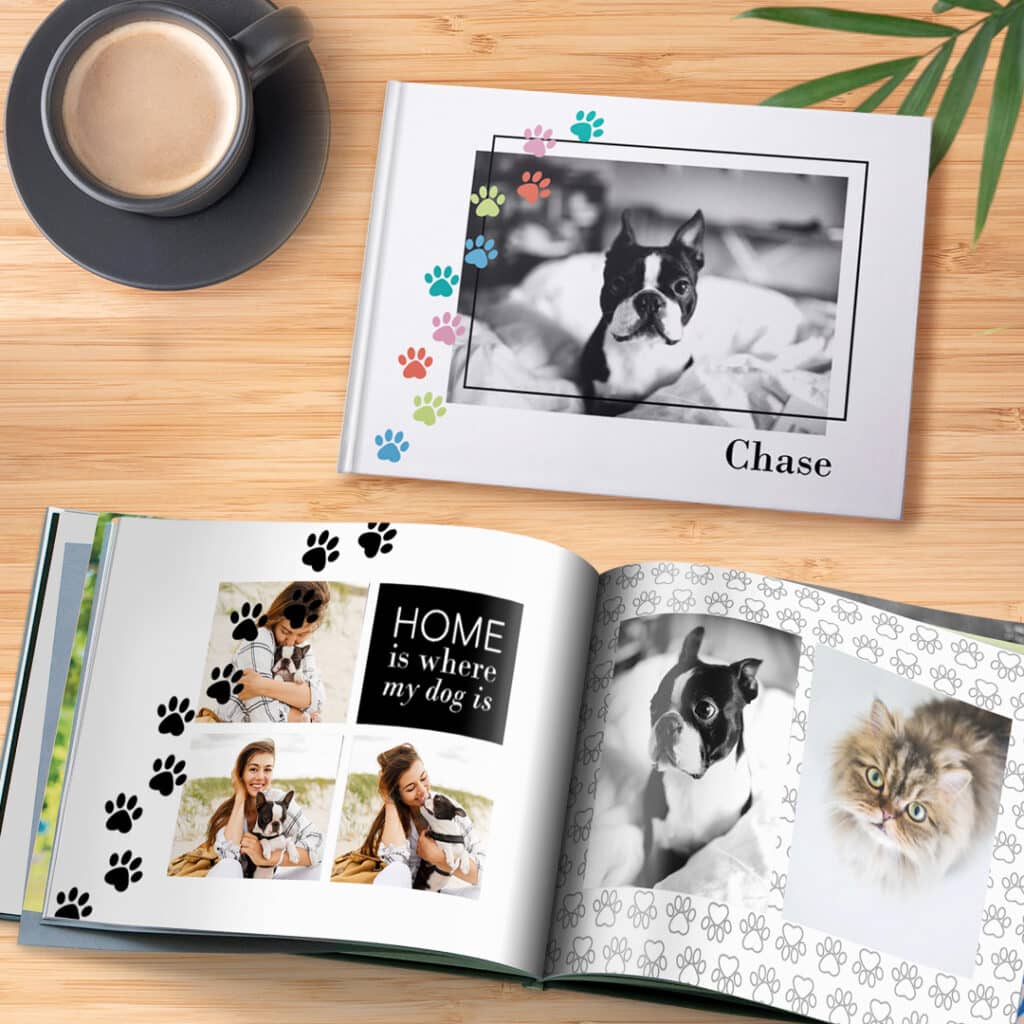
One last tip…
Just as you put a lot of thought into the front cover and inside front cover of your photobook, take advantage of the last page to close with one final message or end your story with a poignant photograph. Just like with a feature film, the ending really matters, whether you’re using words (or a single word), images (or a single image) or other elements. Oh, and don’t forget to have some fun with it! This is your time to shine.
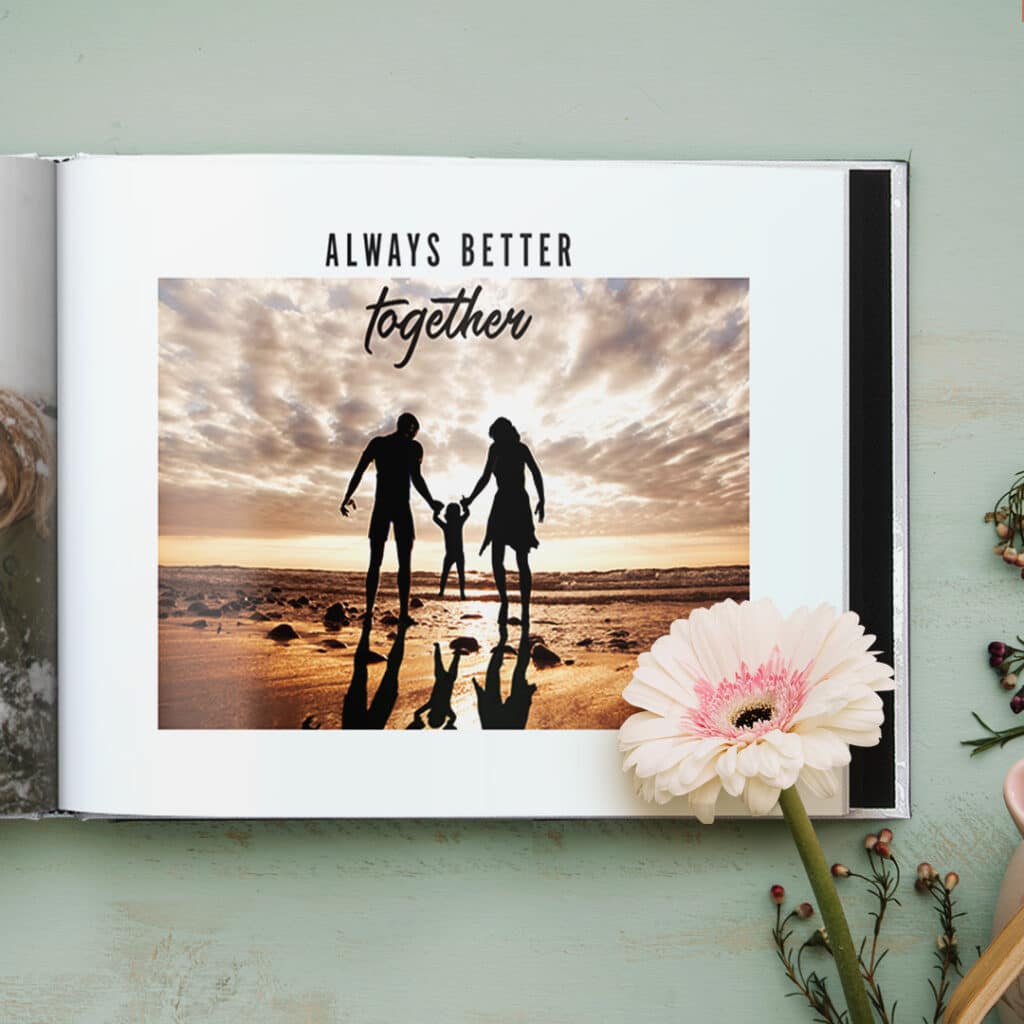
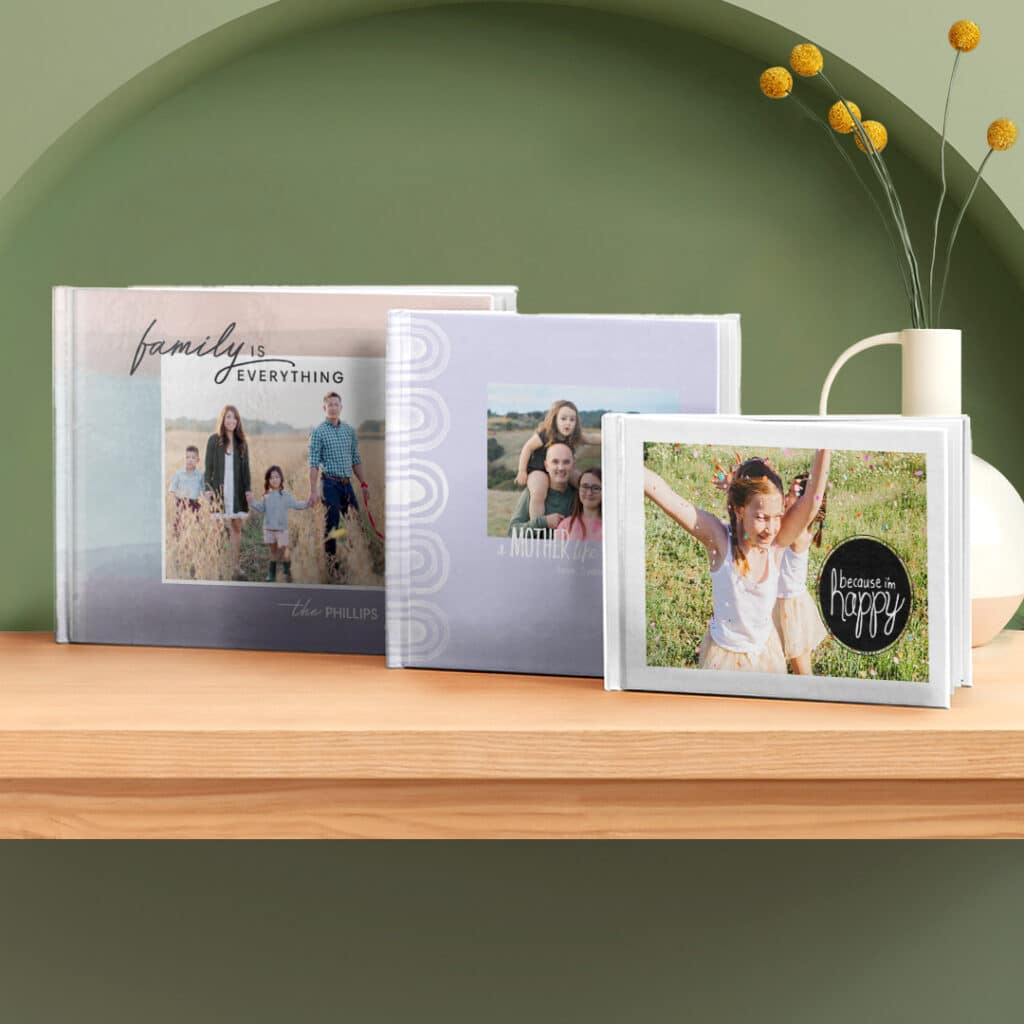
Now it’s time to have a look at our beautiful range of photo books.
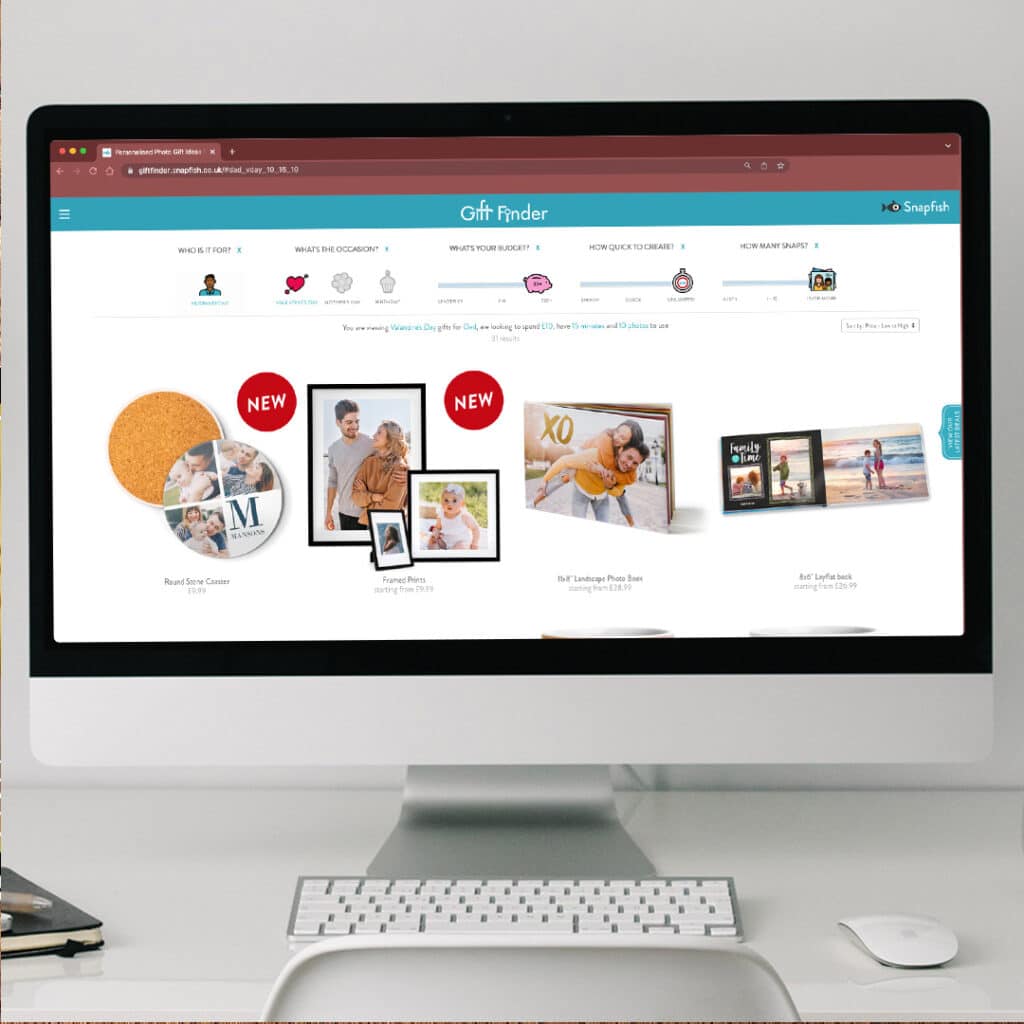
Need some photo gift inspiration for a loved one? Check out our GiftFinder. Simply indicate your budget, how much time you have and how many photos you’d like to use and we’ll suggest the ideal photo product for you!
We can’t wait to see how you design your photo book!
What did you create on Snapfish? Share it with us on social media! You can tag us with @snapfishuk in your photos on Instagram or Facebook or use the hashtag #snapfishuk. Don’t forget to follow us on YouTube , Twitter and Pinterest, too. We love seeing what you create.
