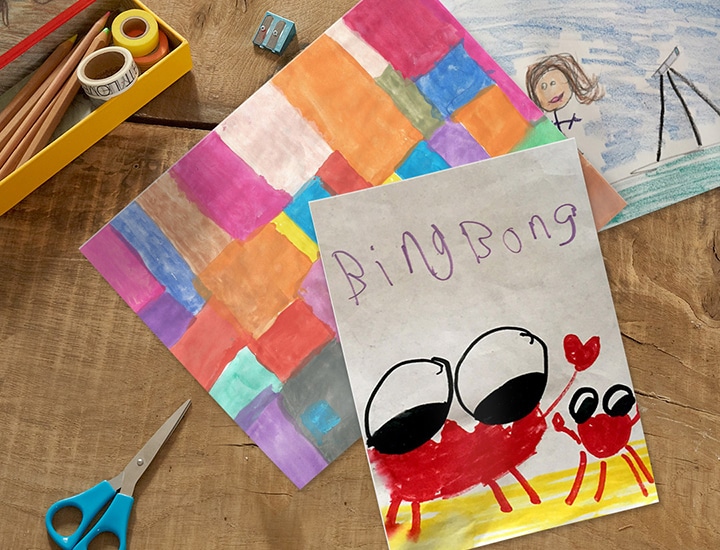
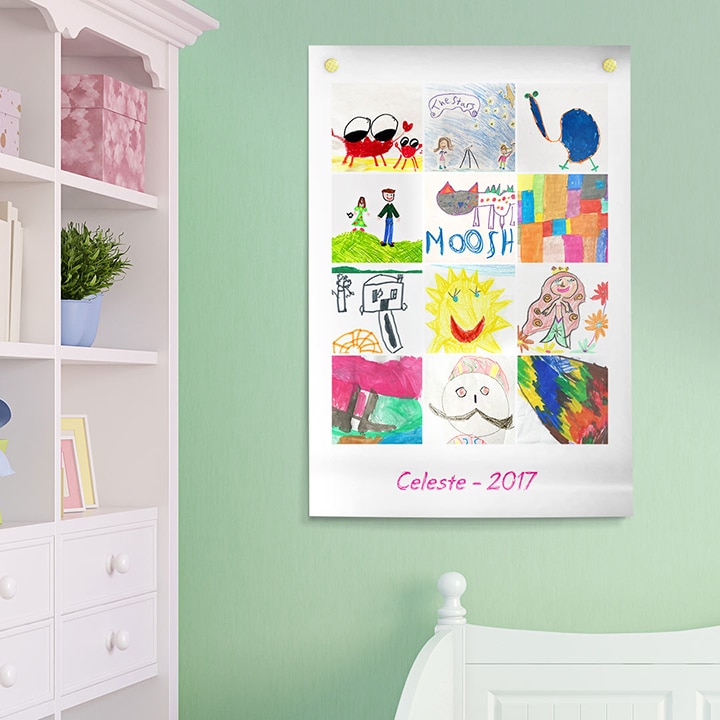
Summer is nearly here, and we’re sure that throughout the school year you’ve managed to accumulate an impressive collection of kids art. Rather than allowing the artwork to pile up, get organised and do something creative with your kids masterpieces. Follow our 5 simple steps to turn your kids favourite drawings into a personalised poster print.
1. Clear up the paper clutter and create digital copies of the artwork. You can do this by scanning or taking photos with your camera. If you’re photographing the drawings, then snap them in a well lit area and try and take them from a bird’s eye perspective.
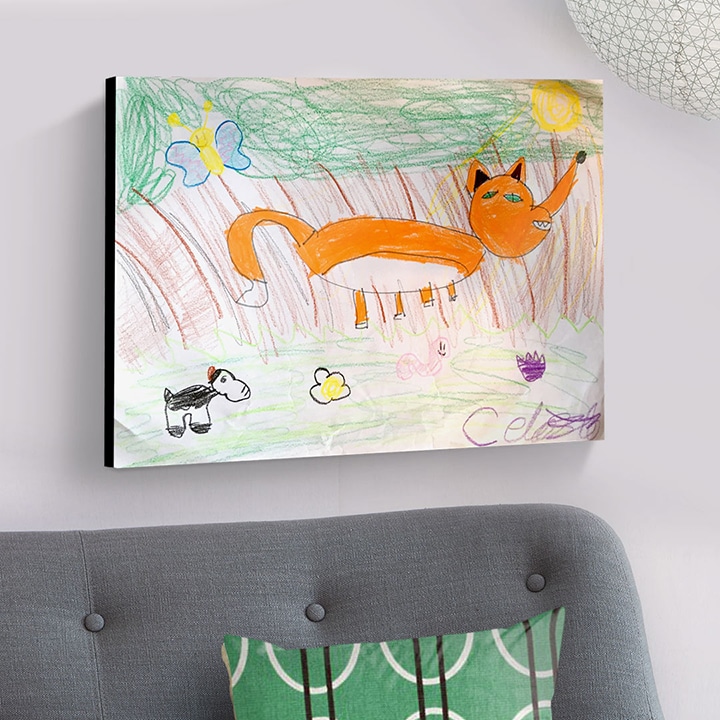
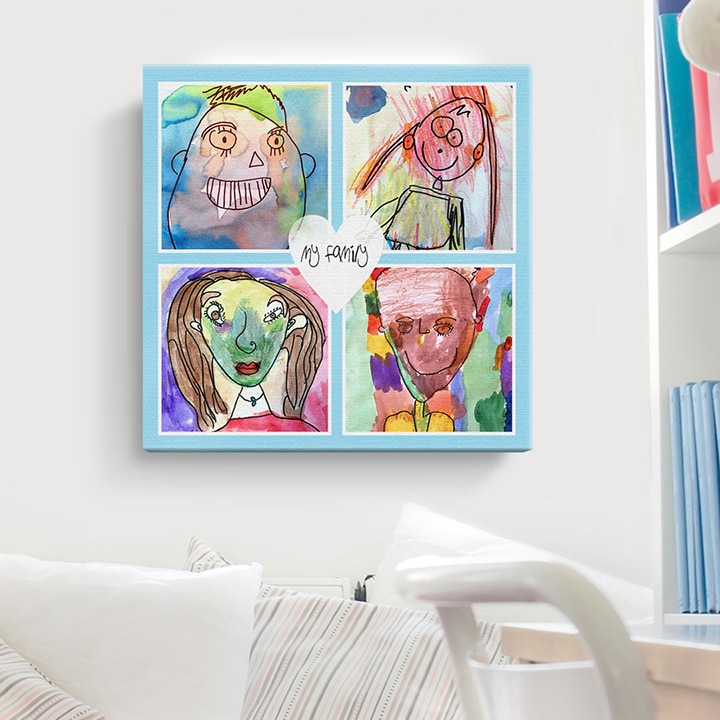
2. Upload your photos to Snapfish, and begin creating your wall art masterpiece. We’ve created a poster print, but you could also turn your kids art into a personalised canvas print, wooden wall panel, or calendar, the possibilities are endless.
3. Choose your poster size, orientation and layout. Fit a year’s worth of artwork on one poster by taking advantage of the collage layouts.
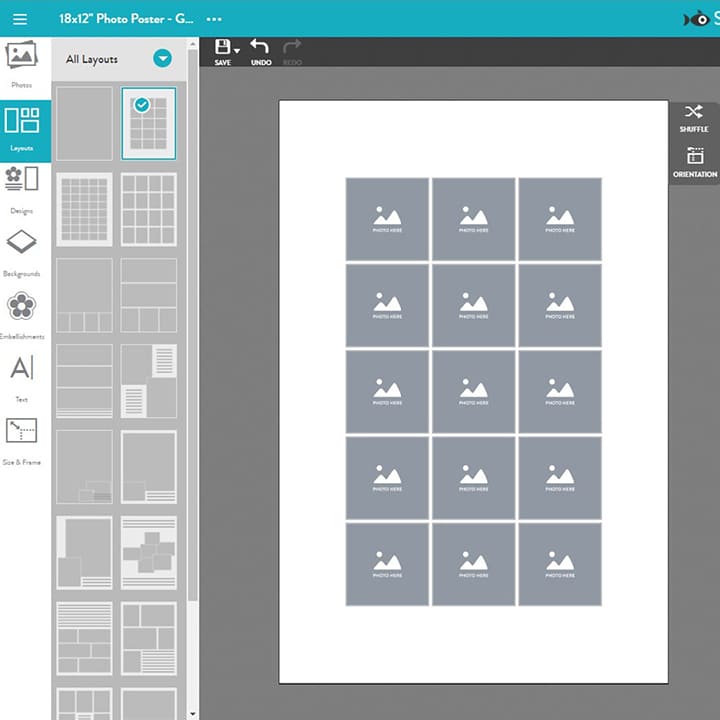
4. If you find a layout you like, but want to make a few tweaks you can edit your layout. We increased the size of the photo slots, so the artwork covers more of the poster.
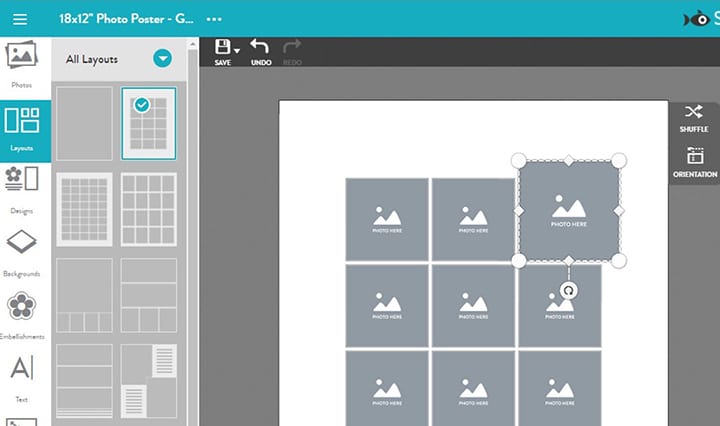
5. Drag and drop your photos into the photo slots. Mix up the artwork for a colourful display.
We chose to keep things simple, so the focus is on the artwork. We added a small line of text, but you could go crazy with background and embellishments.
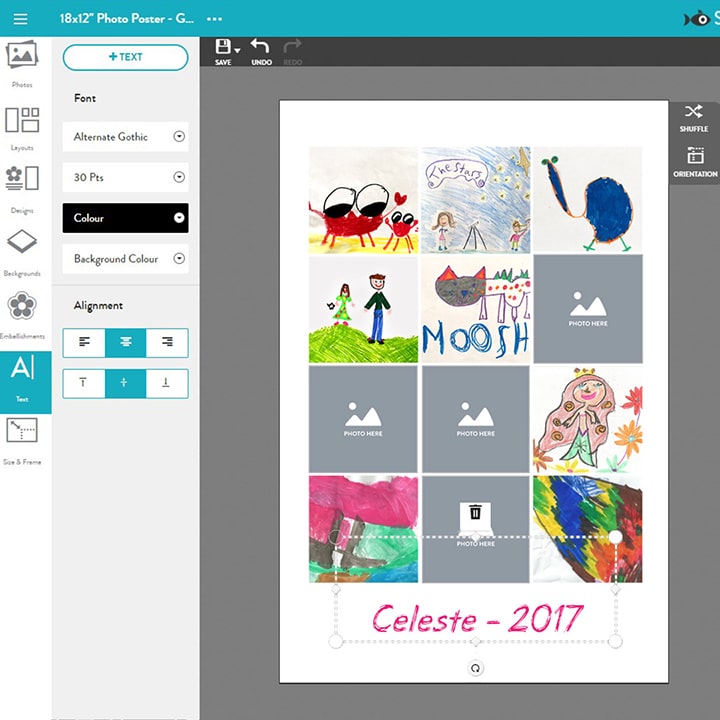
The final product! A fun personalised poster that your kid will be proud to hang in their room.
For more ideas on how to organise your kids artwork keep reading.
What did you create on Snapfish? Share it with us on social media! You can tag us with @snapfishuk in your photos on Instagram or Facebook or use the hashtag #snapfishuk. Don’t forget to follow us on YouTube , Twitter and Pinterest, too. We love seeing what you create.

