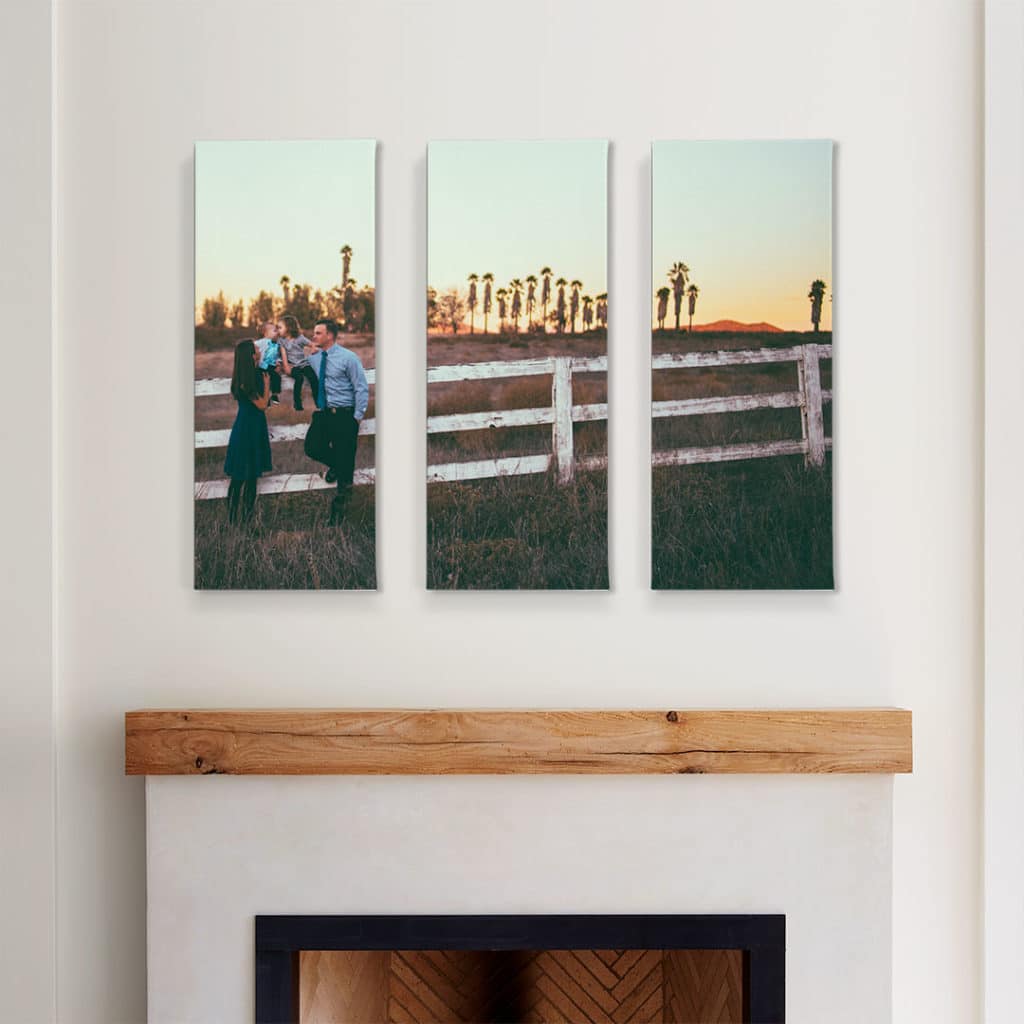
Have you been thinking of adding a little personality to your walls? You’ve come to the right place! At Snapfish, we have plenty of ways you can dress up your wall décor with photo prints and wall art of all shapes and sizes.
Recently, you may have seen that we introduced a new product to our line-up — split canvas prints! These multi-panel photo prints are a wonderful way to display landscapes, cityscapes, and larger-than-life moments. Read on to see how you can create one of these stunning statement pieces for your own space.
What are split canvas prints?
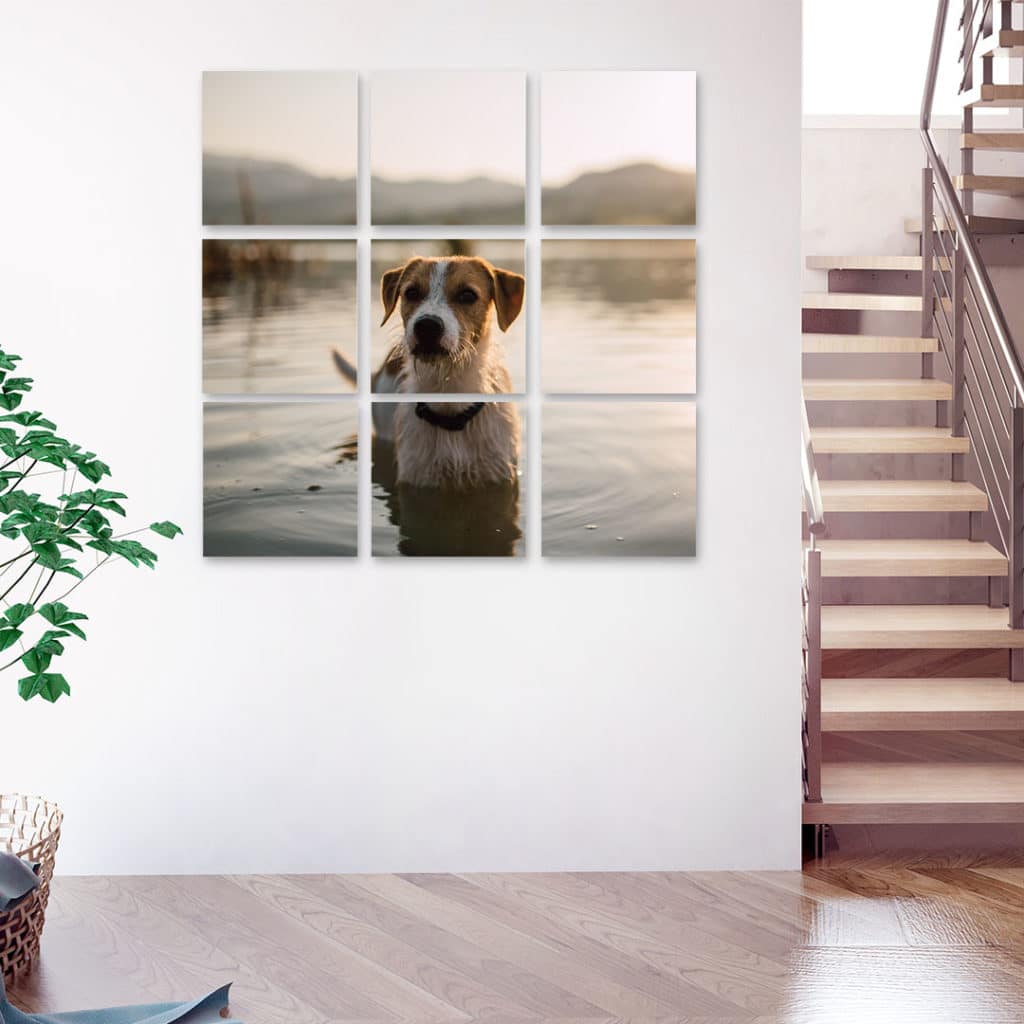
Split canvas is a fun, artistic way of showcasing your photos. Instead of just one huge focal point, we split your image up into 3, 4, or 9 different panels. When spaced accordingly and displayed together, it creates an impressive work of art. So why choose this canvas style versus a regular photo print? With split canvas, your image will be printed with premium inks and a satin finish, ensuring its longevity. Attention to detail is key, so we hand wrap every canvas around a solid wooden frame. The canvas corners are perfectly folded for a seamless appearance!
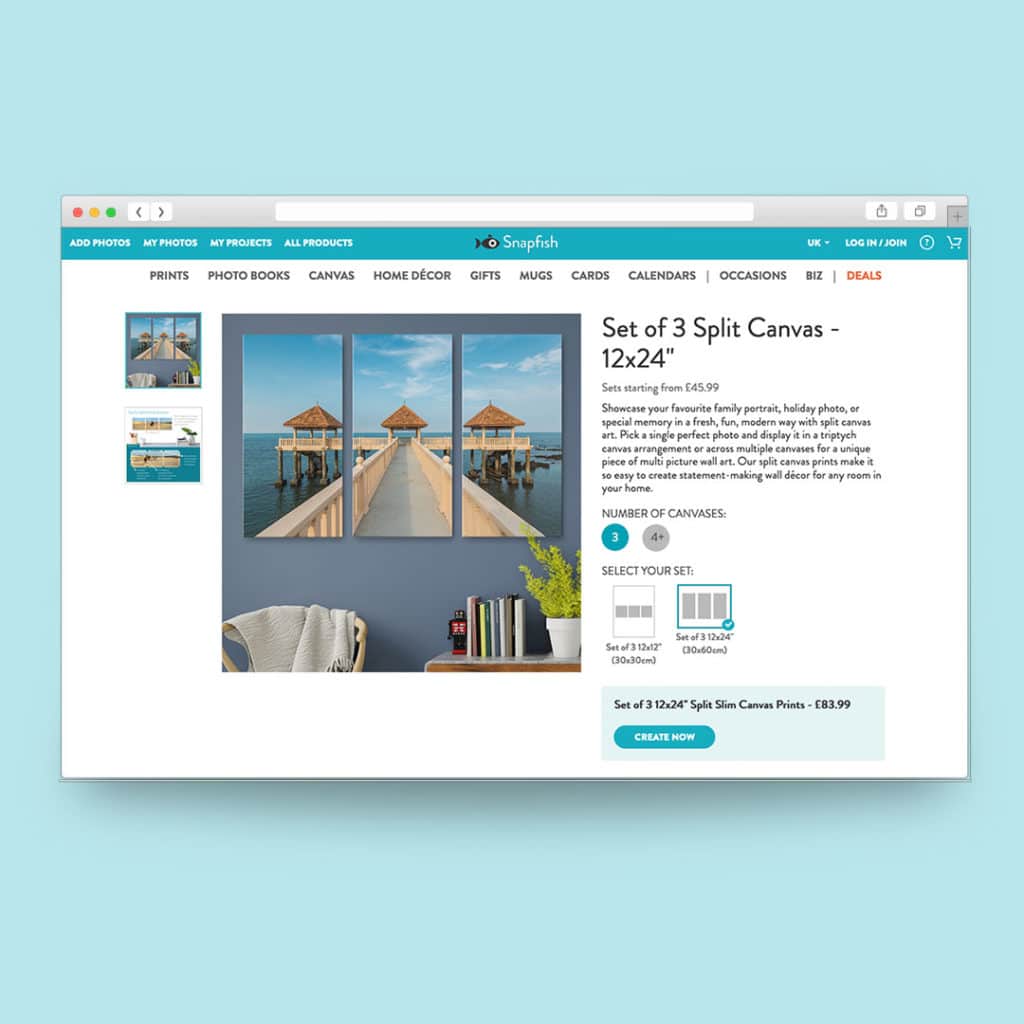
Snapfish offers five different size options for split canvas sets: Set of 3 12×12” (30x30cm), set of 3 12×24” (30x60cm), set of 4 8×8” (20x20cm), set of 4 12×12” (30x30cm), and set of 9 8×8” (20x20cm). So, depending on the image you’re wanting to split, you’ll choose an appropriate style that’s right for you.
Choosing the right photo
When selecting an image for your split canvas, you’ll want to use a higher resolution photo, so your photo doesn’t appear grainy, blurry, or pixelated. Luckily, our project builder will let you know if the resolution of your photo is too low. For more information, read our “Photo Resolution Tips” in the Snapfish Help guide.
Now which photo should you choose for a split canvas display? It’s really up to you what will work best in your space. It could be a gorgeous landscape image, close-up details of a flower, or a candid snapshot of your family.
Do you have an image in mind that you’d like to try out? Let our project builder guide you through the process!
Desktop Instructions:
- From the Snapfish home page, mouse over the “Canvas” tab and select “Split Canvas”.
- Once on the product page, you can select the size and number of panels you want. After you find the right product, choose “Create Now.”
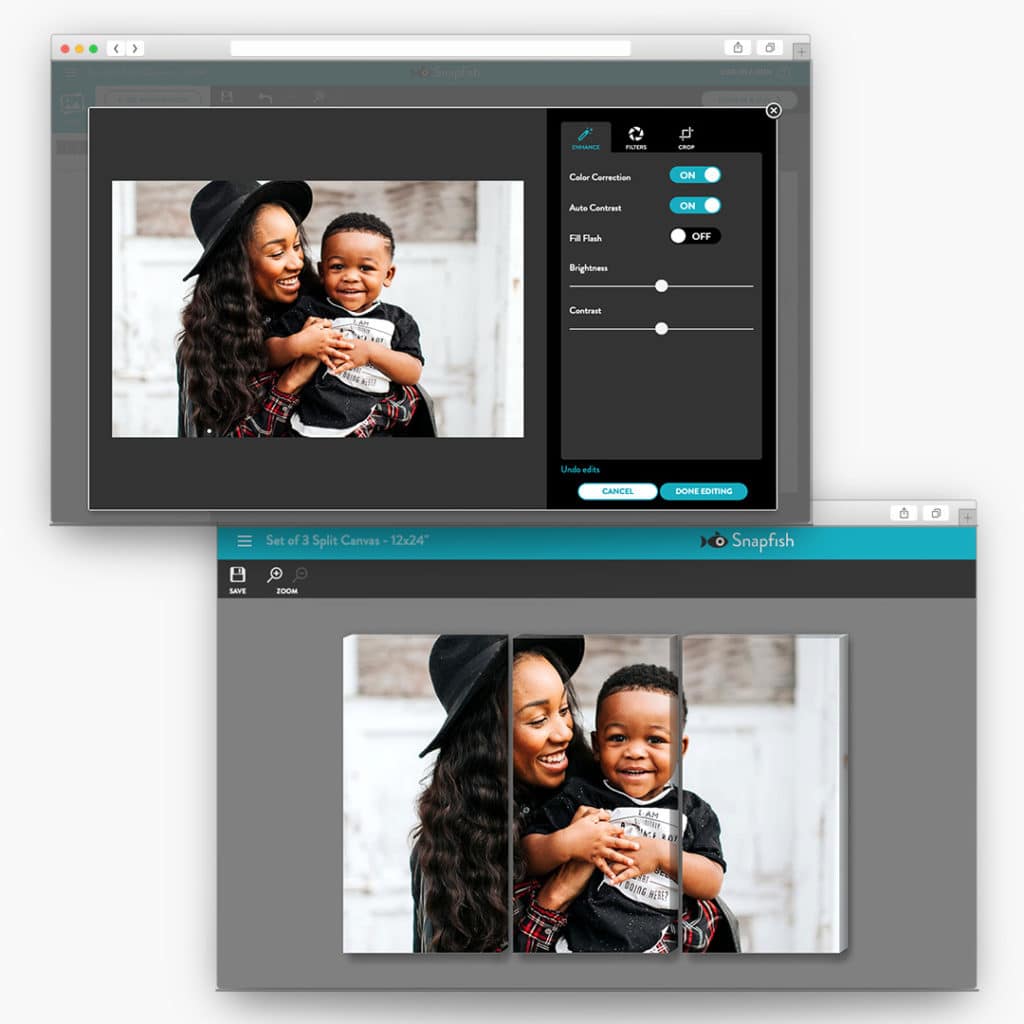
- Now that you’re in the project builder, you can add photos to your Snapfish account. Choose from multiple sources such as your computer, Facebook, Google Photos, Instagram or Flickr account.
- From here, you can select which photo you’d like to use in your project. It will appear in the Photos tray in the Builder toolbar.
- Place your picture by dragging it from the tray to the designated space.
- After your picture has been added, you can use the hand icon to adjust the orientation of the photo or zoom in and out to adjust the crop. If your image has people in it, be mindful of where the split will be. It’s generally best practice to not split a person’s face or body in half but you can play around in the builder to see where the best orientation may be.
- While in the builder you can also edit the photo’s colour, contrast, brightness, or add filters.
- When you’re finished editing your split canvas print, click “Review & Buy.” Then, click “Back to Edit” to make additional changes, or “Add to Cart” to proceed to checkout.
How to display?
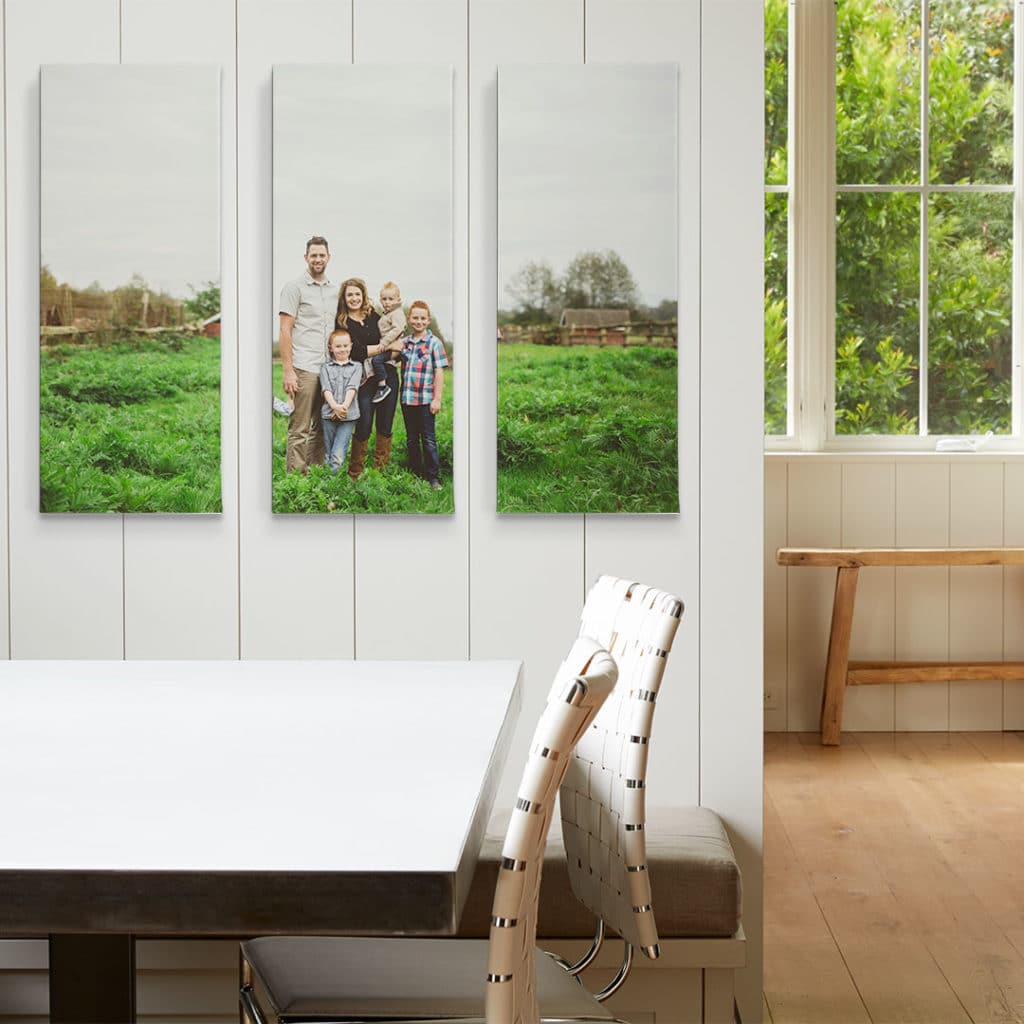
After you’ve received your split canvas, how and where should you hang it?
Because this is such a showstopping piece, most people create split canvas to be the star of their gallery wall. Multi-piece canvas will certainly look amazing above your sofa, bed, desk, fireplace, or on the stairs or landing.
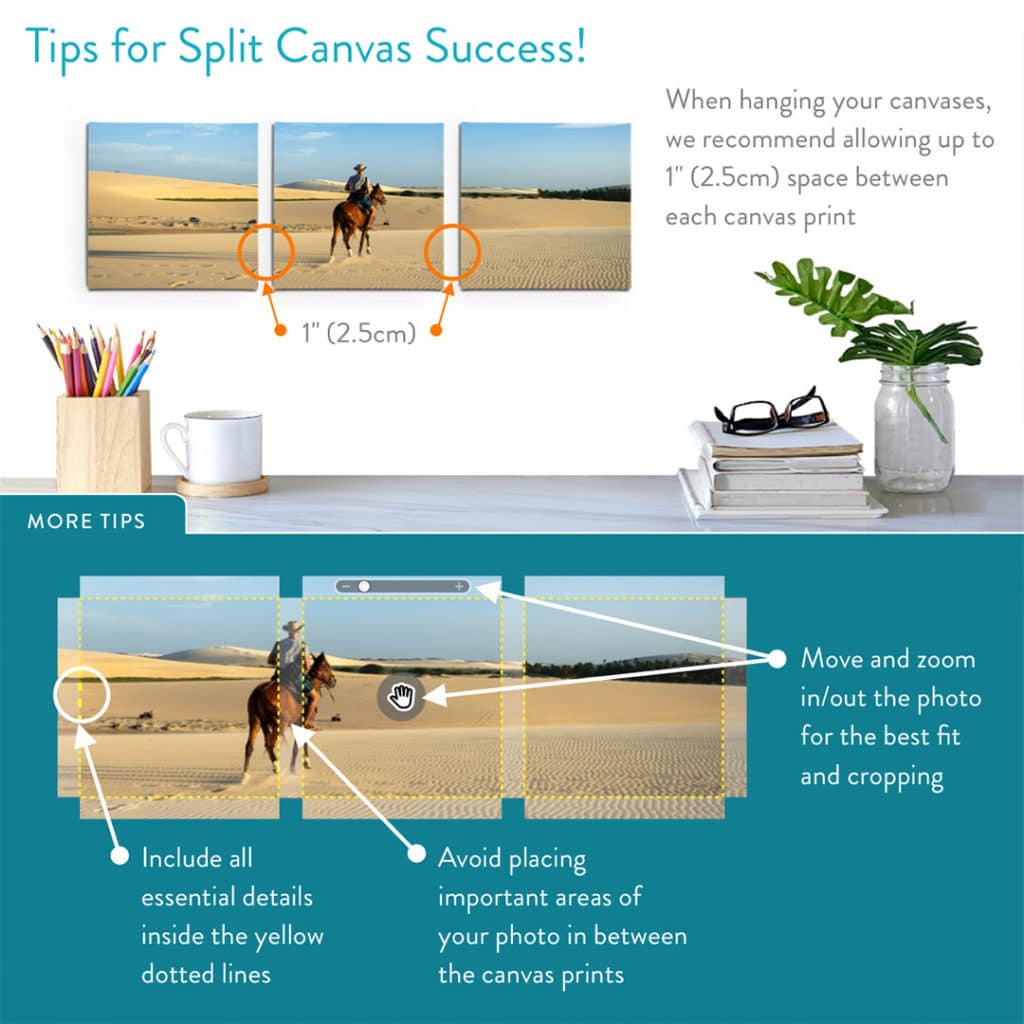
When figuring out the perfect spot on the wall, sometimes it’s helpful to use a visual aid. A simple trick some people use is hanging pieces of paper that correspond to the size of your canvas and taping them to the wall. This helps you find the right height, angle, and avoids any unnecessary holes in the wall. You can also create a budget-friendly poster print of your canvas first, and tape that to the wall to really get a feel for how it’ll look in your space. We recommend displaying your split canvas prints with at least a 1” (2.5cm) space between each panel. However, we’ve seen some displays where the spacing is 3 to 4 inches apart and the effect is quite stunning.
Feeling inspired to create your own wall art? Please share your creations with us on social media! Just tag us with @snapfishuk on Instagram or Facebook with photos or use the hashtag #snapfishuk. You can also follow us on YouTube, Twitter and Pinterest, too!
