Creating a unique photo book is child’s play with our easy-to-use software. Read on to find out how and learn how you can design your own photo book with our simple tips.
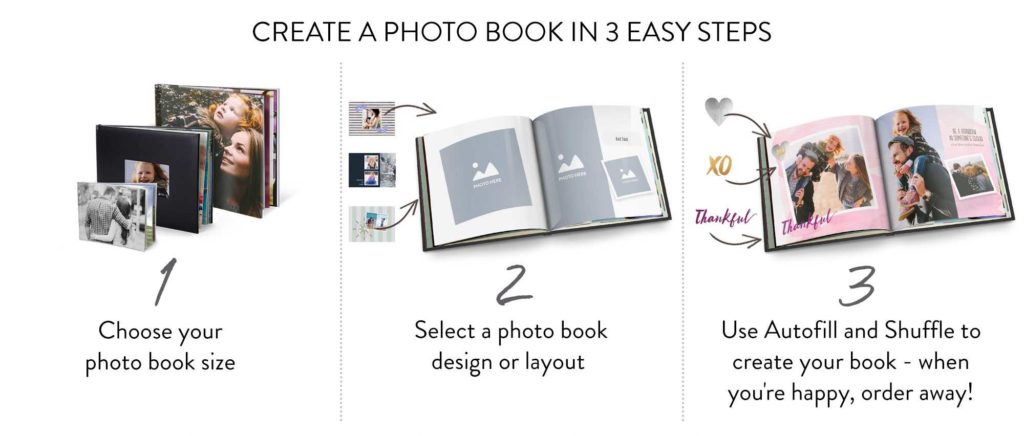
1. Select the photo book format and size to suit the occasion.
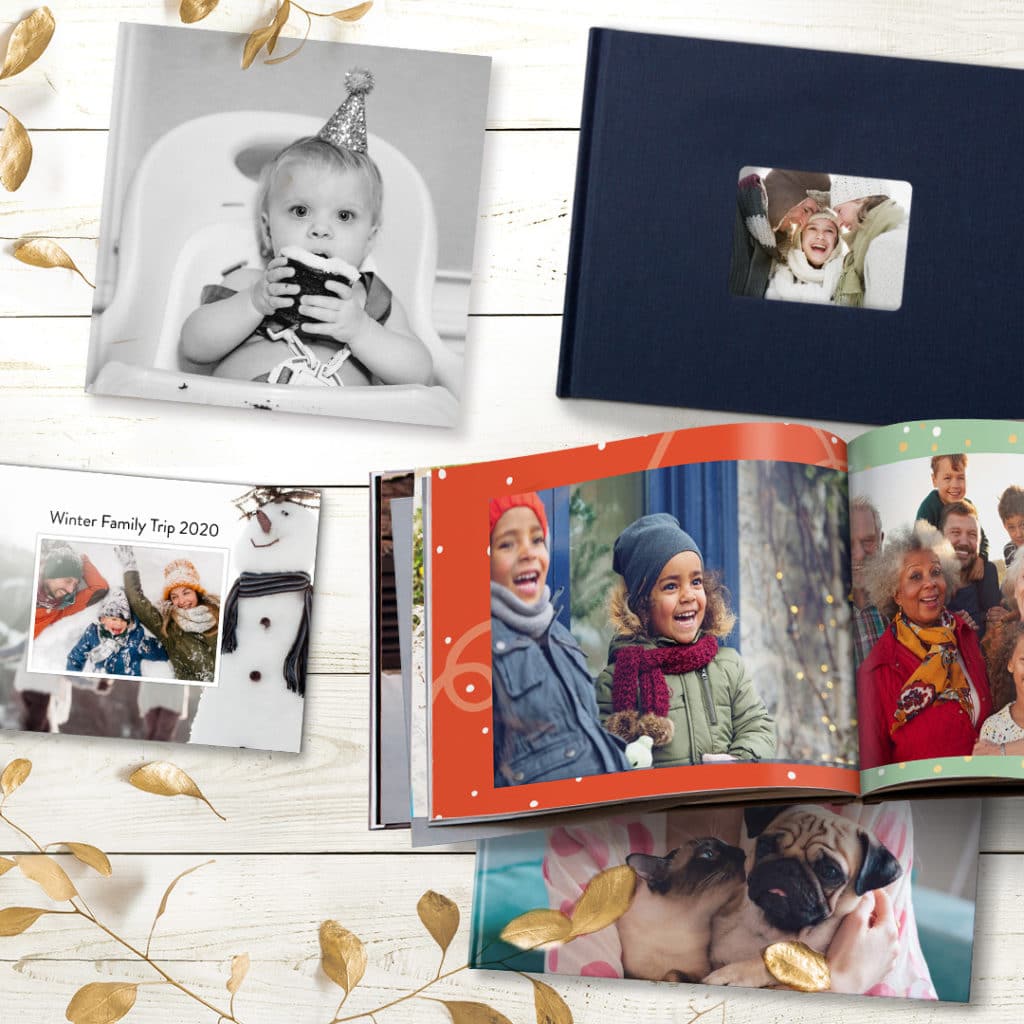
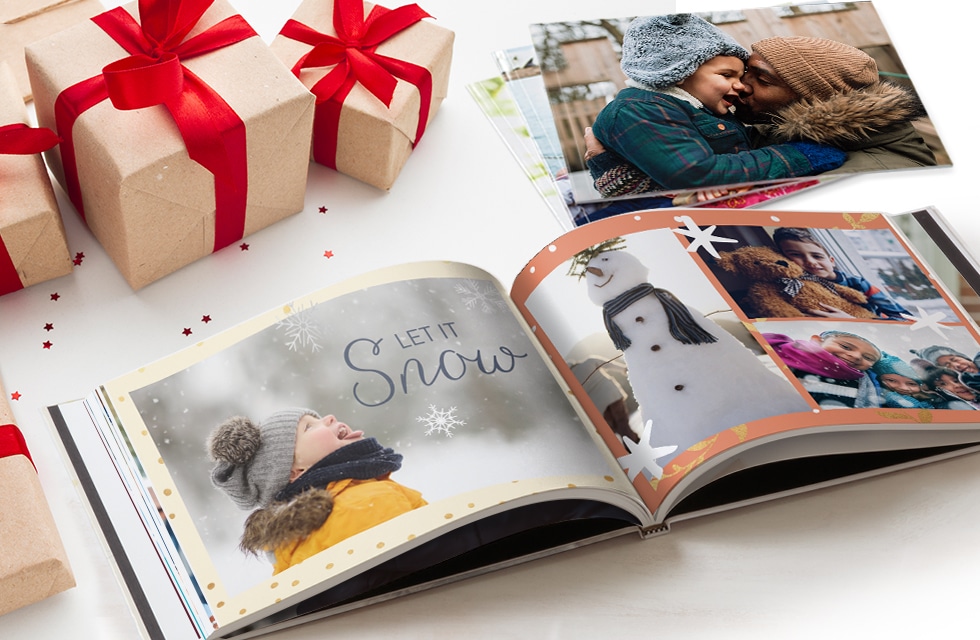
Photo books are available in a classic style, with traditional book binding (perfect bound or saddle stitched) or a layflat style which allows for seamless photo printing across the double page spread.
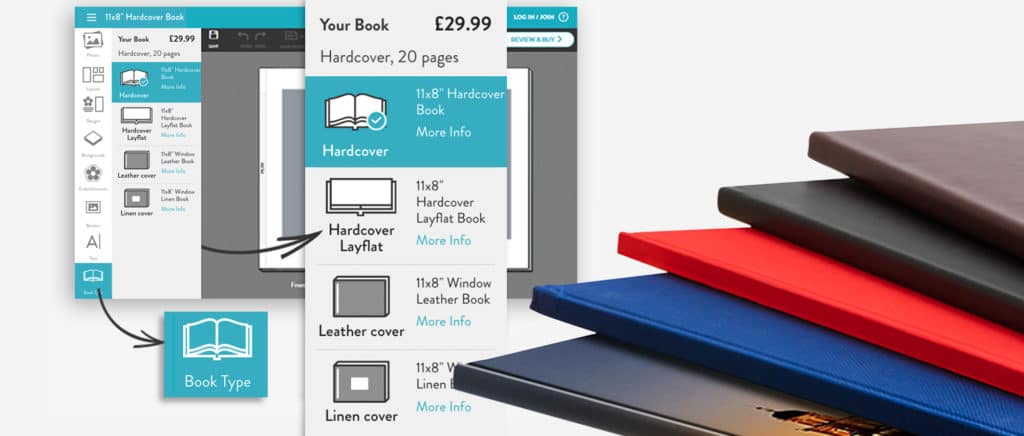
You can choose between layflat, hardcover, softcover and papercover photo book covers. All options where you upload a photo to print on the front and back of your album and you can add a personal title to your photo book spine, or if you prefer, select a more traditional hard backed leather or linen die cut covers that allows a tantalising glimpse of the stunning photos printed on the first page of your custom photo album.
2. Choose one of our pre-designed themes (or you can design your own from scratch)
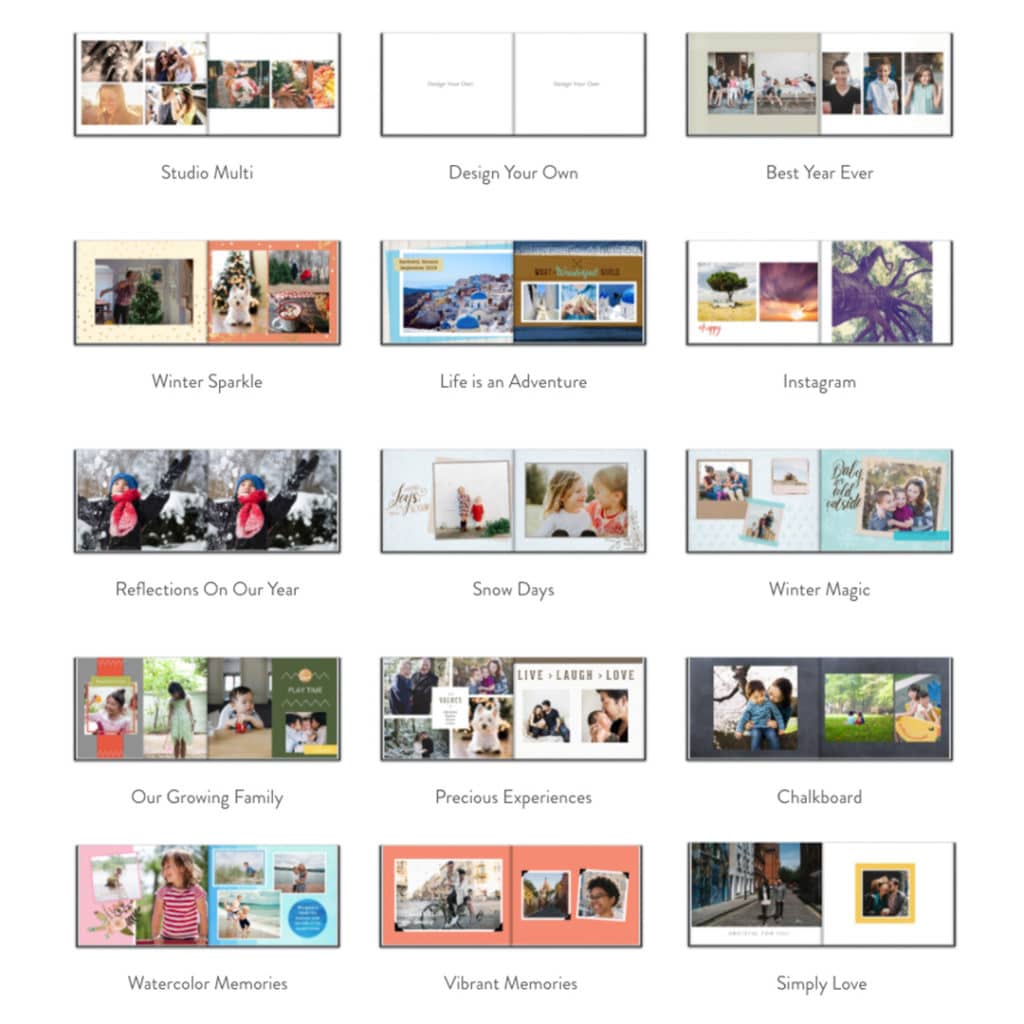
You can change your mind in the builder too.
After selecting the theme of your photo book, the next step is to choose your photos. You might want to group suitable photos by specific events, like Christmas, birthday, children’s activities, a family trip etc.
Thinking about how you want to showcase your photos helps you better understand how to lay them out and how many pages you might need and which photo layout designs work best.
Once you’ve chosen your photos, you can then arrange them chronographically by date, such as Christmas Eve, Christmas Day, Boxing Day and New Year’s Eve etc and then use your photo book to tell a story that will keep your memories stay alive forever!
3. Consider the structure of your photo book
Don’t overload your photo book pages. Give your pictures space to show themselves! Vary the size and orientation of the photos and add text to describe them. Give groups of connected photos a title, add dates and other memories to the text. Use the embellishment decorations and background colours to support the theme & design of your photo book, making is consistent in style.
Just make sure that you don’t use backgrounds that are similar in colour to your photos, otherwise they will blend into the page.
Use the Autofill feature to add photos to the book in chronological order and play around with the Shuffle feature to see what automated page layouts our builder suggests. You can always undo the changes made. Save often and think about saving different versions if you are unsure of the end effect you want.
4. Know your way around our photo book builder
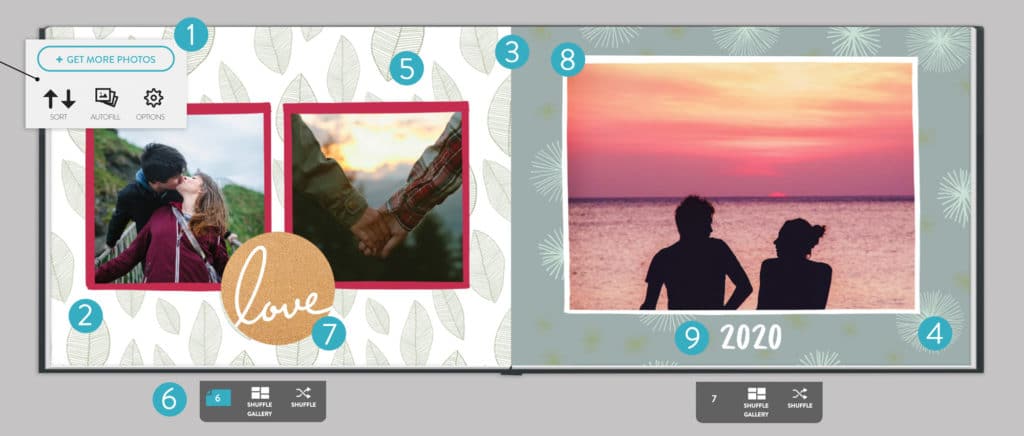
Our photo book builder has been created with you in mind. Each stage of the book create flow has been laid out in the left hand menu. Review each of the options highlighted above and you are well on the way to creating a professional looking photo book.
- Select your photos
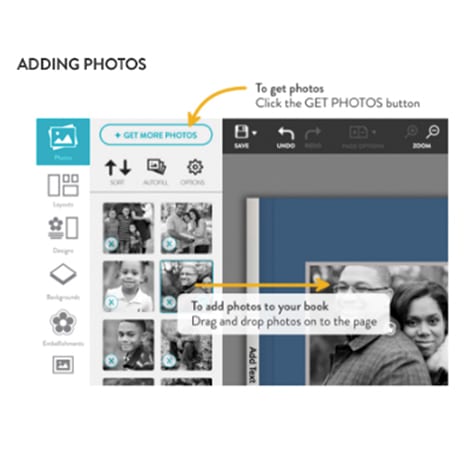
You can always add more later, or delete the ones you no longer need. Having your photos selected at the start, makes it easier to use our Autofill feature later. - Choose your preferred layout
It’s easy to arrange your photos into our pre-built photo layouts - Choose Designs
We have a wide range of pre-made designs for you to customise - Select Background
Mix and match background colours and designs to suit your photos - Shuffle Photos
Use our automated shuffle feature to re-position your chosen photos in new layout options at a click - Choose embellishments
Add extra focus on key photos when you add our embellishments to your photo book pages - Add borders
Add coloured borders to your photos. Just drag and drop - Add text
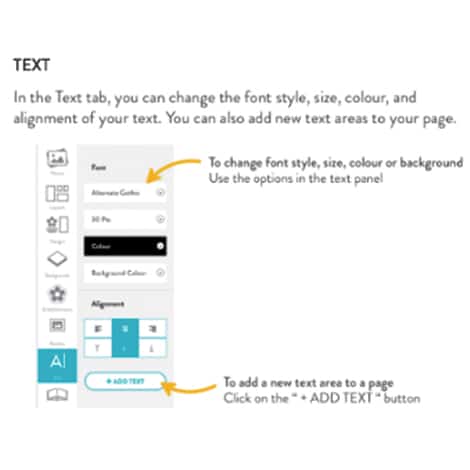
Add text boxes, choose fonts, font size, colour and alignment. Then just drag the text box on the page to fit - Change Book Type
Just click the “Book Type” item in the menu to choose the cover type you wish to change your book to
5. Check out our newest tips icon for even more help in the builder
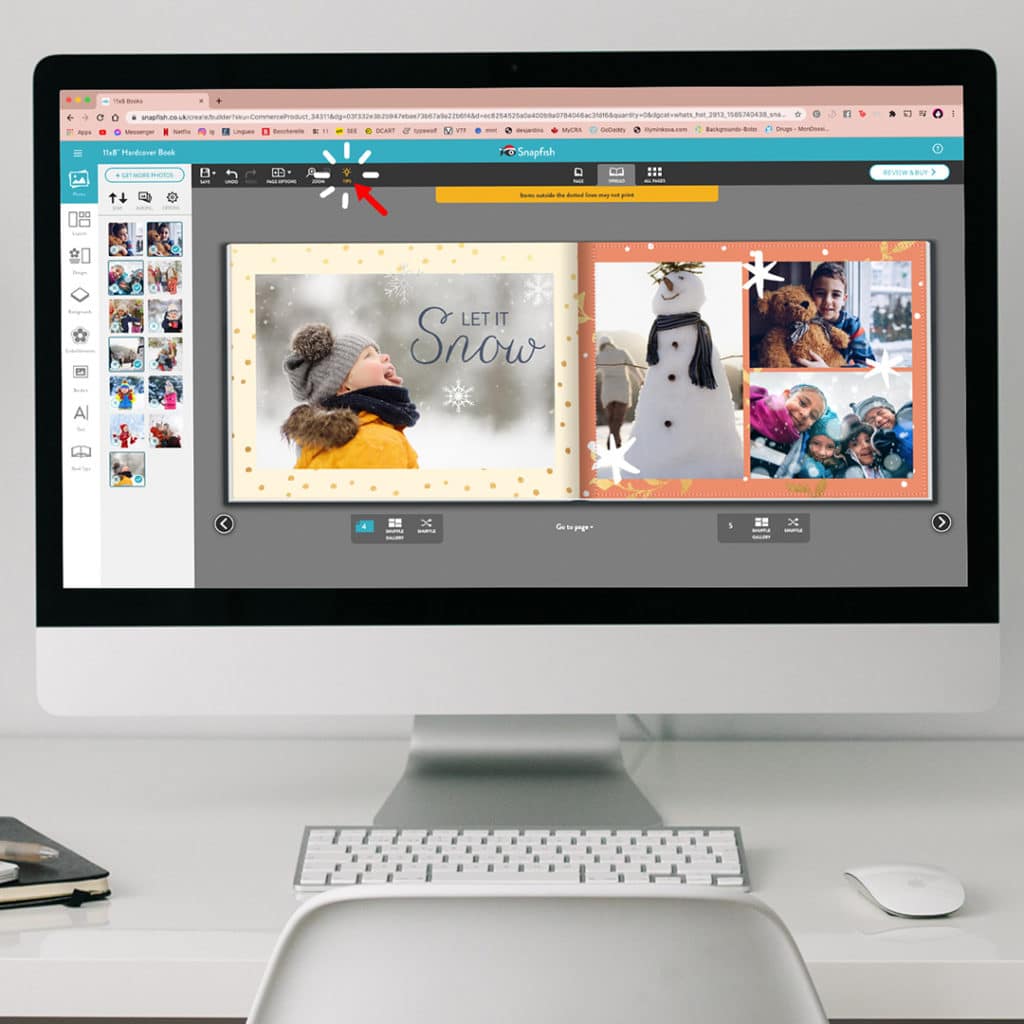
Snapfish has recently made creating and editing a photo book even easier with the launch of our “Tips” icon. You’ll see this at the top of the builder.
Tips are provided for the following activities:
Adding Photos
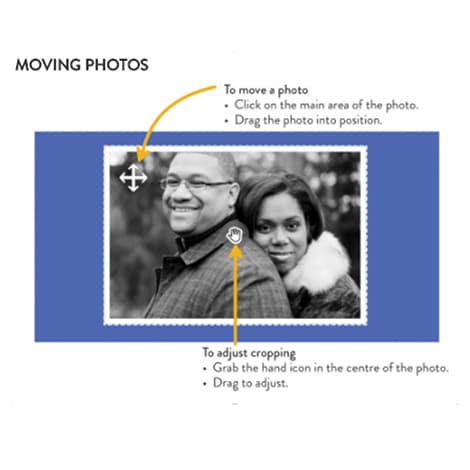
Moving Photos
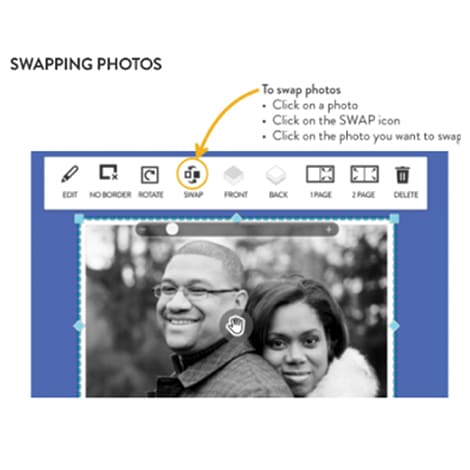
Swapping Photos
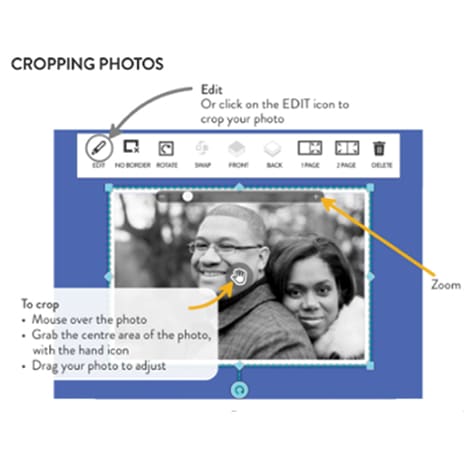
Cropping Photos
Adding Text
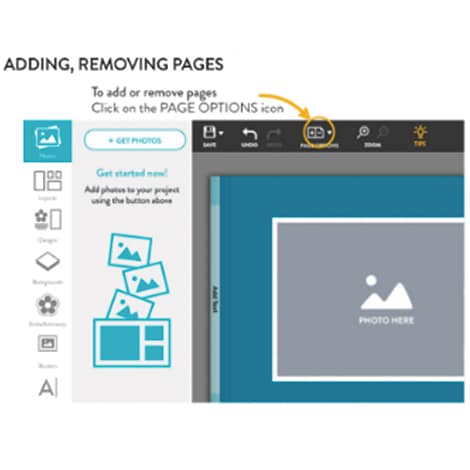
Adding and Removing Pages
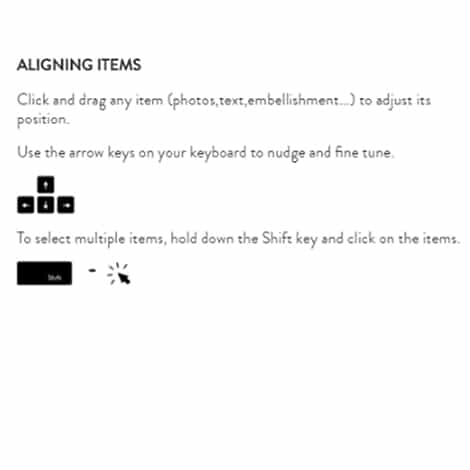
Aligning items with your keyboard
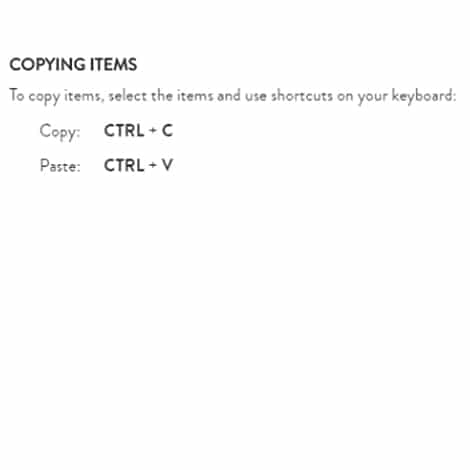
Copying items with your keyboard
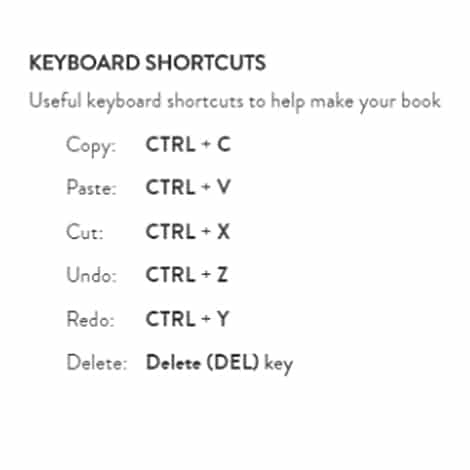
Using Common Keyboard Shortcuts
We have created a series of YouTube tutorials to give you a little more visualisation of the process. You can find these, and more information on the different types of photo books you can create in our blog post: What is a Photo Book? Or you can watch the How To videos below.
Have fun creating your photo book, and don’t forget to share your creations with us on social media. You can tag us on Instagram or Facebook or use the hashtag #snapfishuk.
Don’t forget to follow us on YouTube, Twitter and Pinterest, too.

